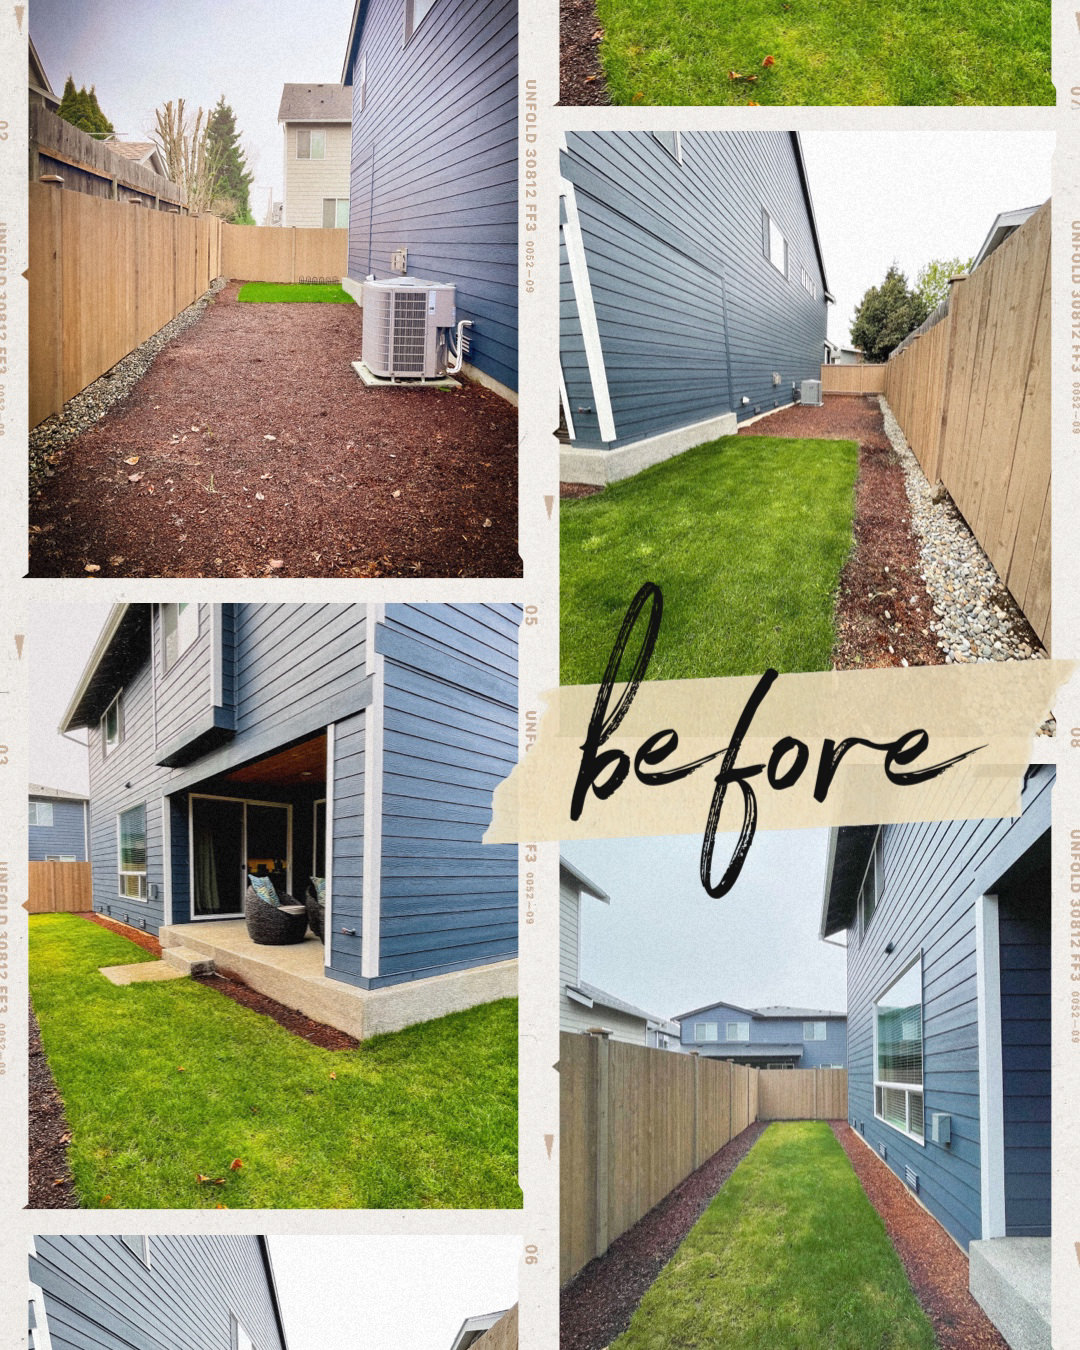
Builder Basic. That was our backyard. Grass and bark and no more. Topping that off our yard is the size of a postage stamp with our neighbors’ homes just a few feet away, literally.
When we moved in we had a vision of creating an outdoor oasis (as private as possible). Although the yard was small, we were going to make the most of it.
The key must-haves …
- An Area To Entertain
- An Area for our pup, Remi
- The greenery that would give us privacy
- Trees that would add to the privacy and give some shade
Making A Plan
Our original plan was to extend our patio by adding deck space up to the fence line and having this seamless by floating the deck boards over the aggregate patio – giving an indoor/outdoor look by matching our interior floor plank color to the deck boards. But then reality happened with two issues stopping that plan – property line set-backs (so our contractor could only build a fence 2 feet from the fence line) and cost – did we want to spend a good sum of money on a deck that was going to be much smaller than planned.
So with that, we explored a Plan B – Creating a Courtyard Style Oasis.
We then thought, what about pavers … what about turf instead of grass … what option of trees, shrubs, and plants would grow in our yard and give us the most privacy?
So, with those thoughts in mind, we visited the Seattle Home & Garden Show (that happened at perfect timing). We signed up to get quotes from landscape design companies and also talked to our previous home landscaper to refine our vision and execute it.
And then the quotes came in.
To give you an idea of the backyard size before reading the numbers, our yard is 9.5 feet from our back porch to the fence line and the side yard is 13’ from the house to the fence line (and the length of the house).
The 3 quotes we received were in a pretty wide price range. The lowest was around $30,000 for pavers and turf and planting of shrubs (did not include the plant cost), The middle was $64,000 for pavers and turf only, and The highest was $93,000 for a design, pavers, turf, and shrubs.
Gulp. All of those were higher than what we had budgeted (even though the $30,000 quote came down to $25,000).
So onto Plan C – The Do It Yourself Plan.
So what did we come up with?
Instead of pavers, our wonderful friends recommended their concrete person. They raved about him. So we thought let’s see what he can do. Let’s get a quote.
Their concrete person did not disappoint. He could give us exactly the look of pavers that we wanted using concrete for a fraction of what the pavers were going to cost. He had 20ish stamped concrete patterns we could choose from and even said “if I don’t have the pattern you want, I will purchase that pattern for your job. I can use it for projects after yours.”
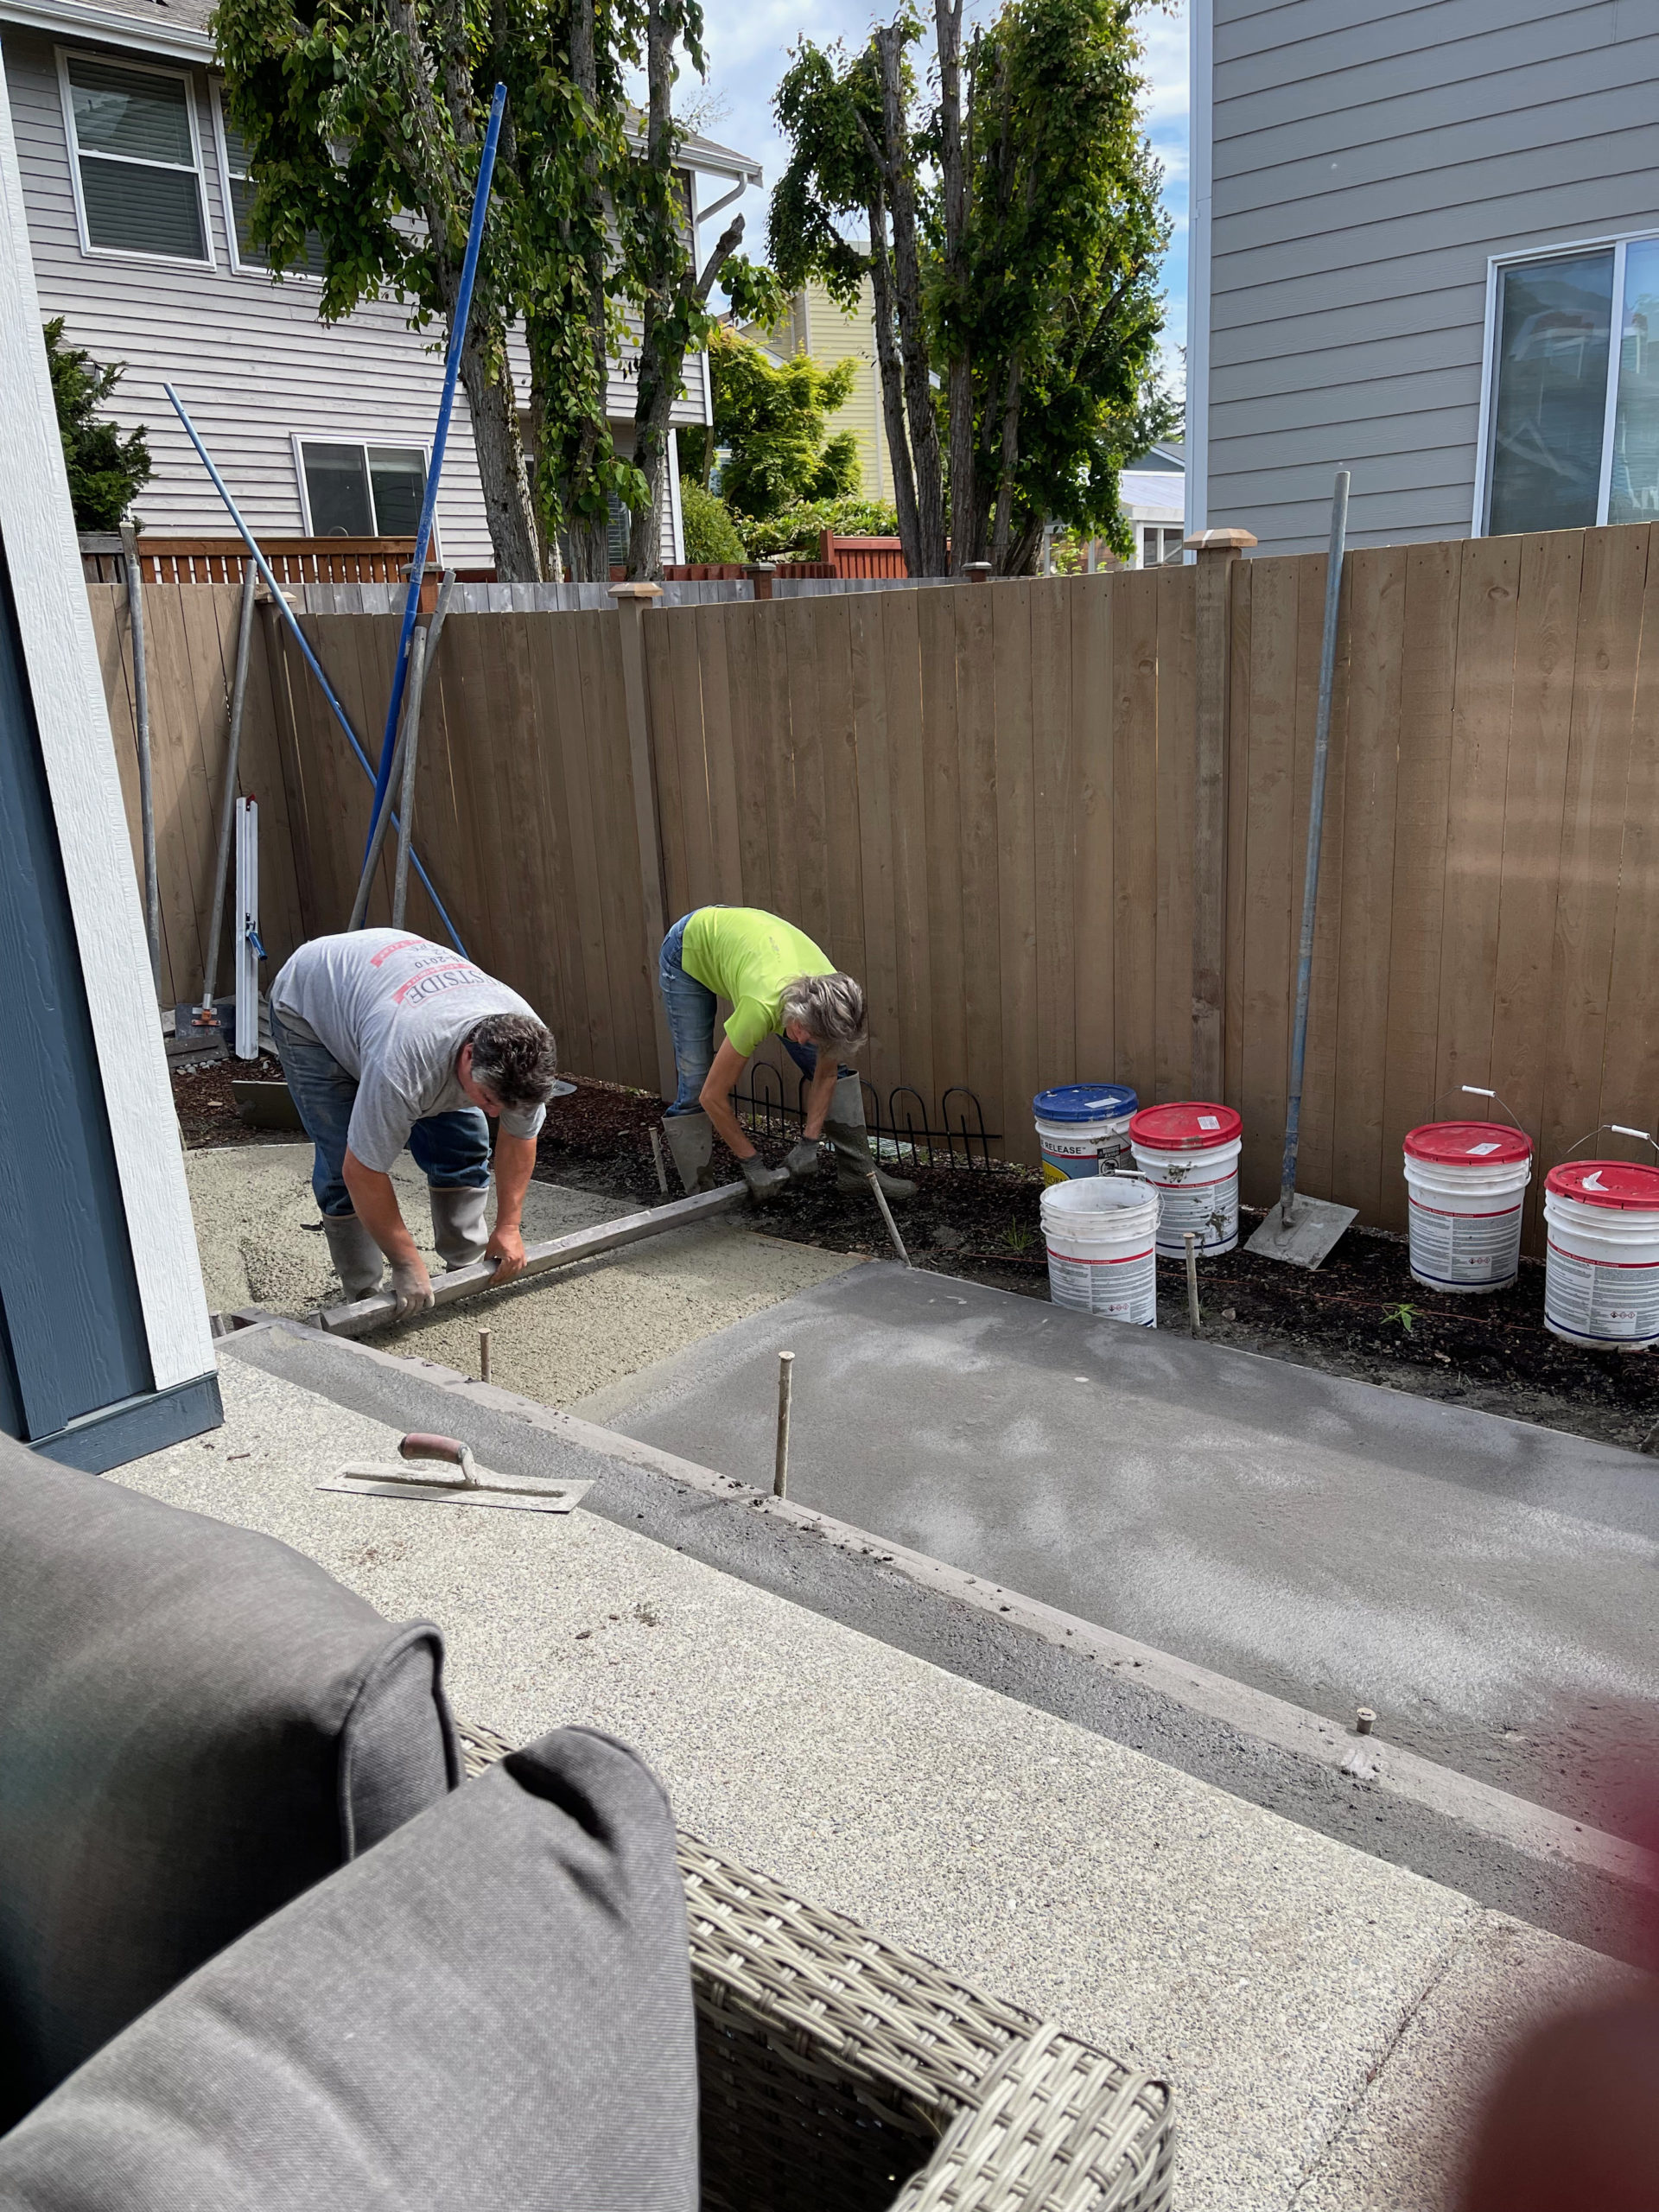
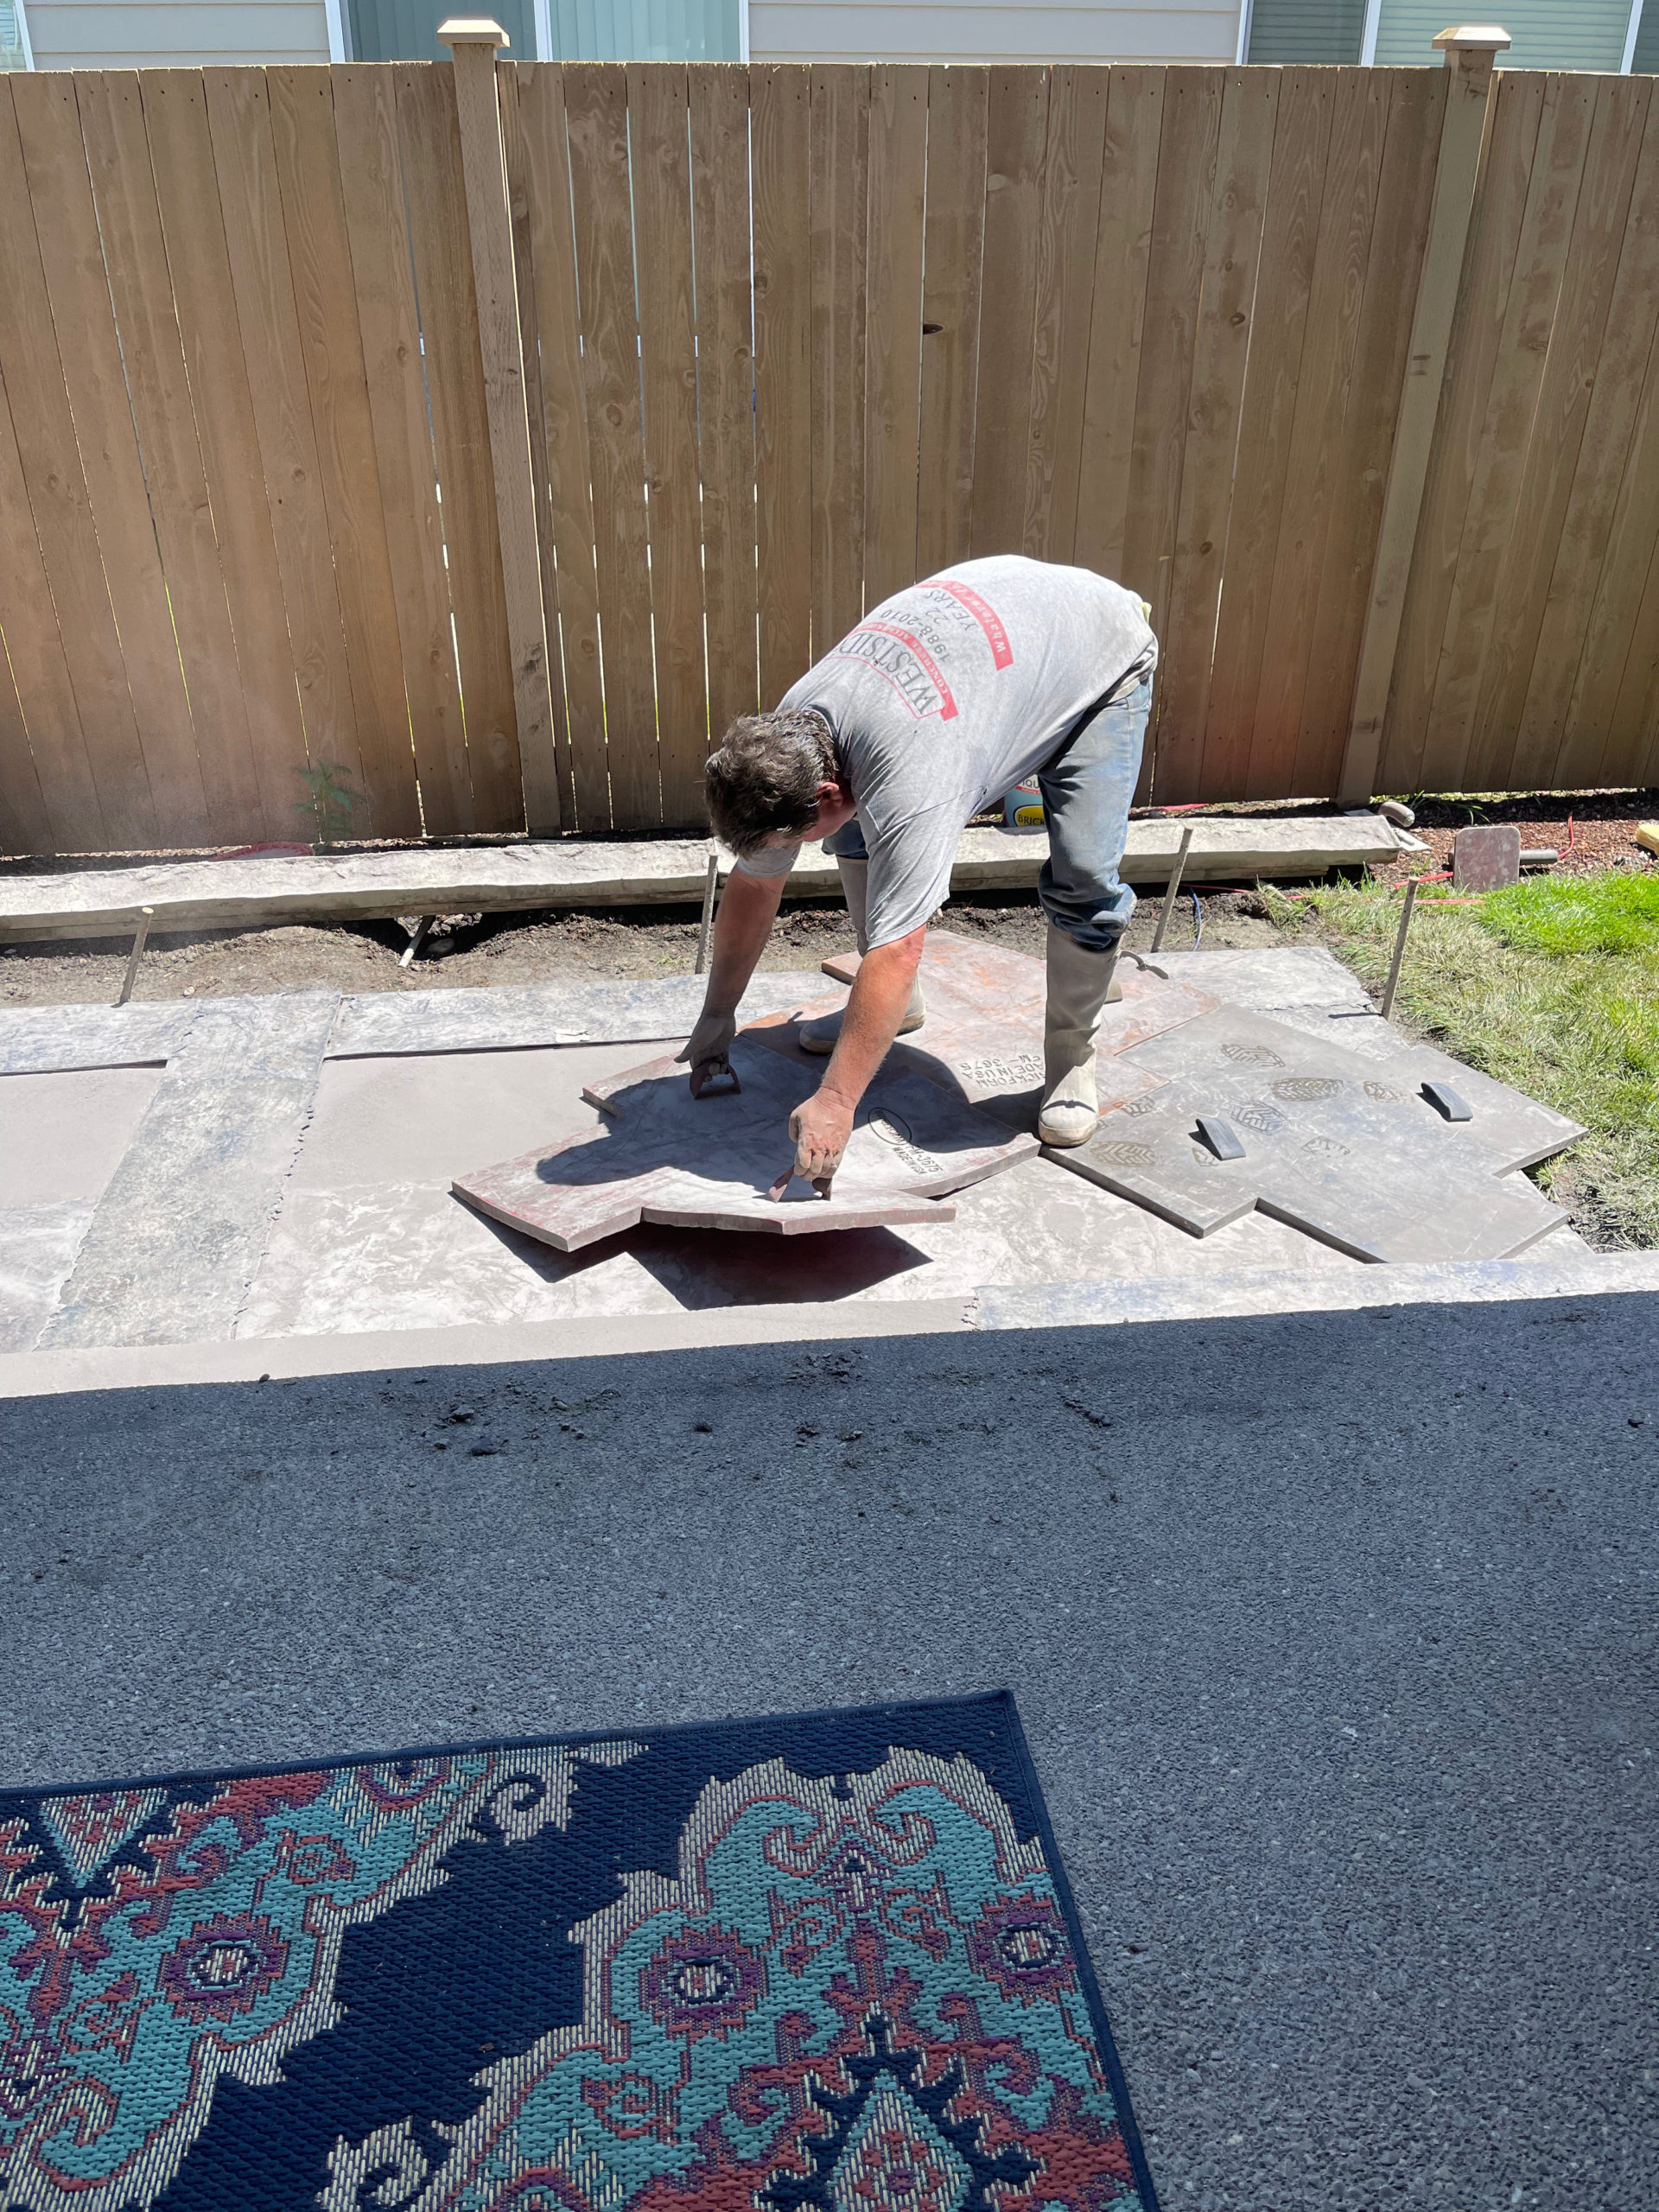
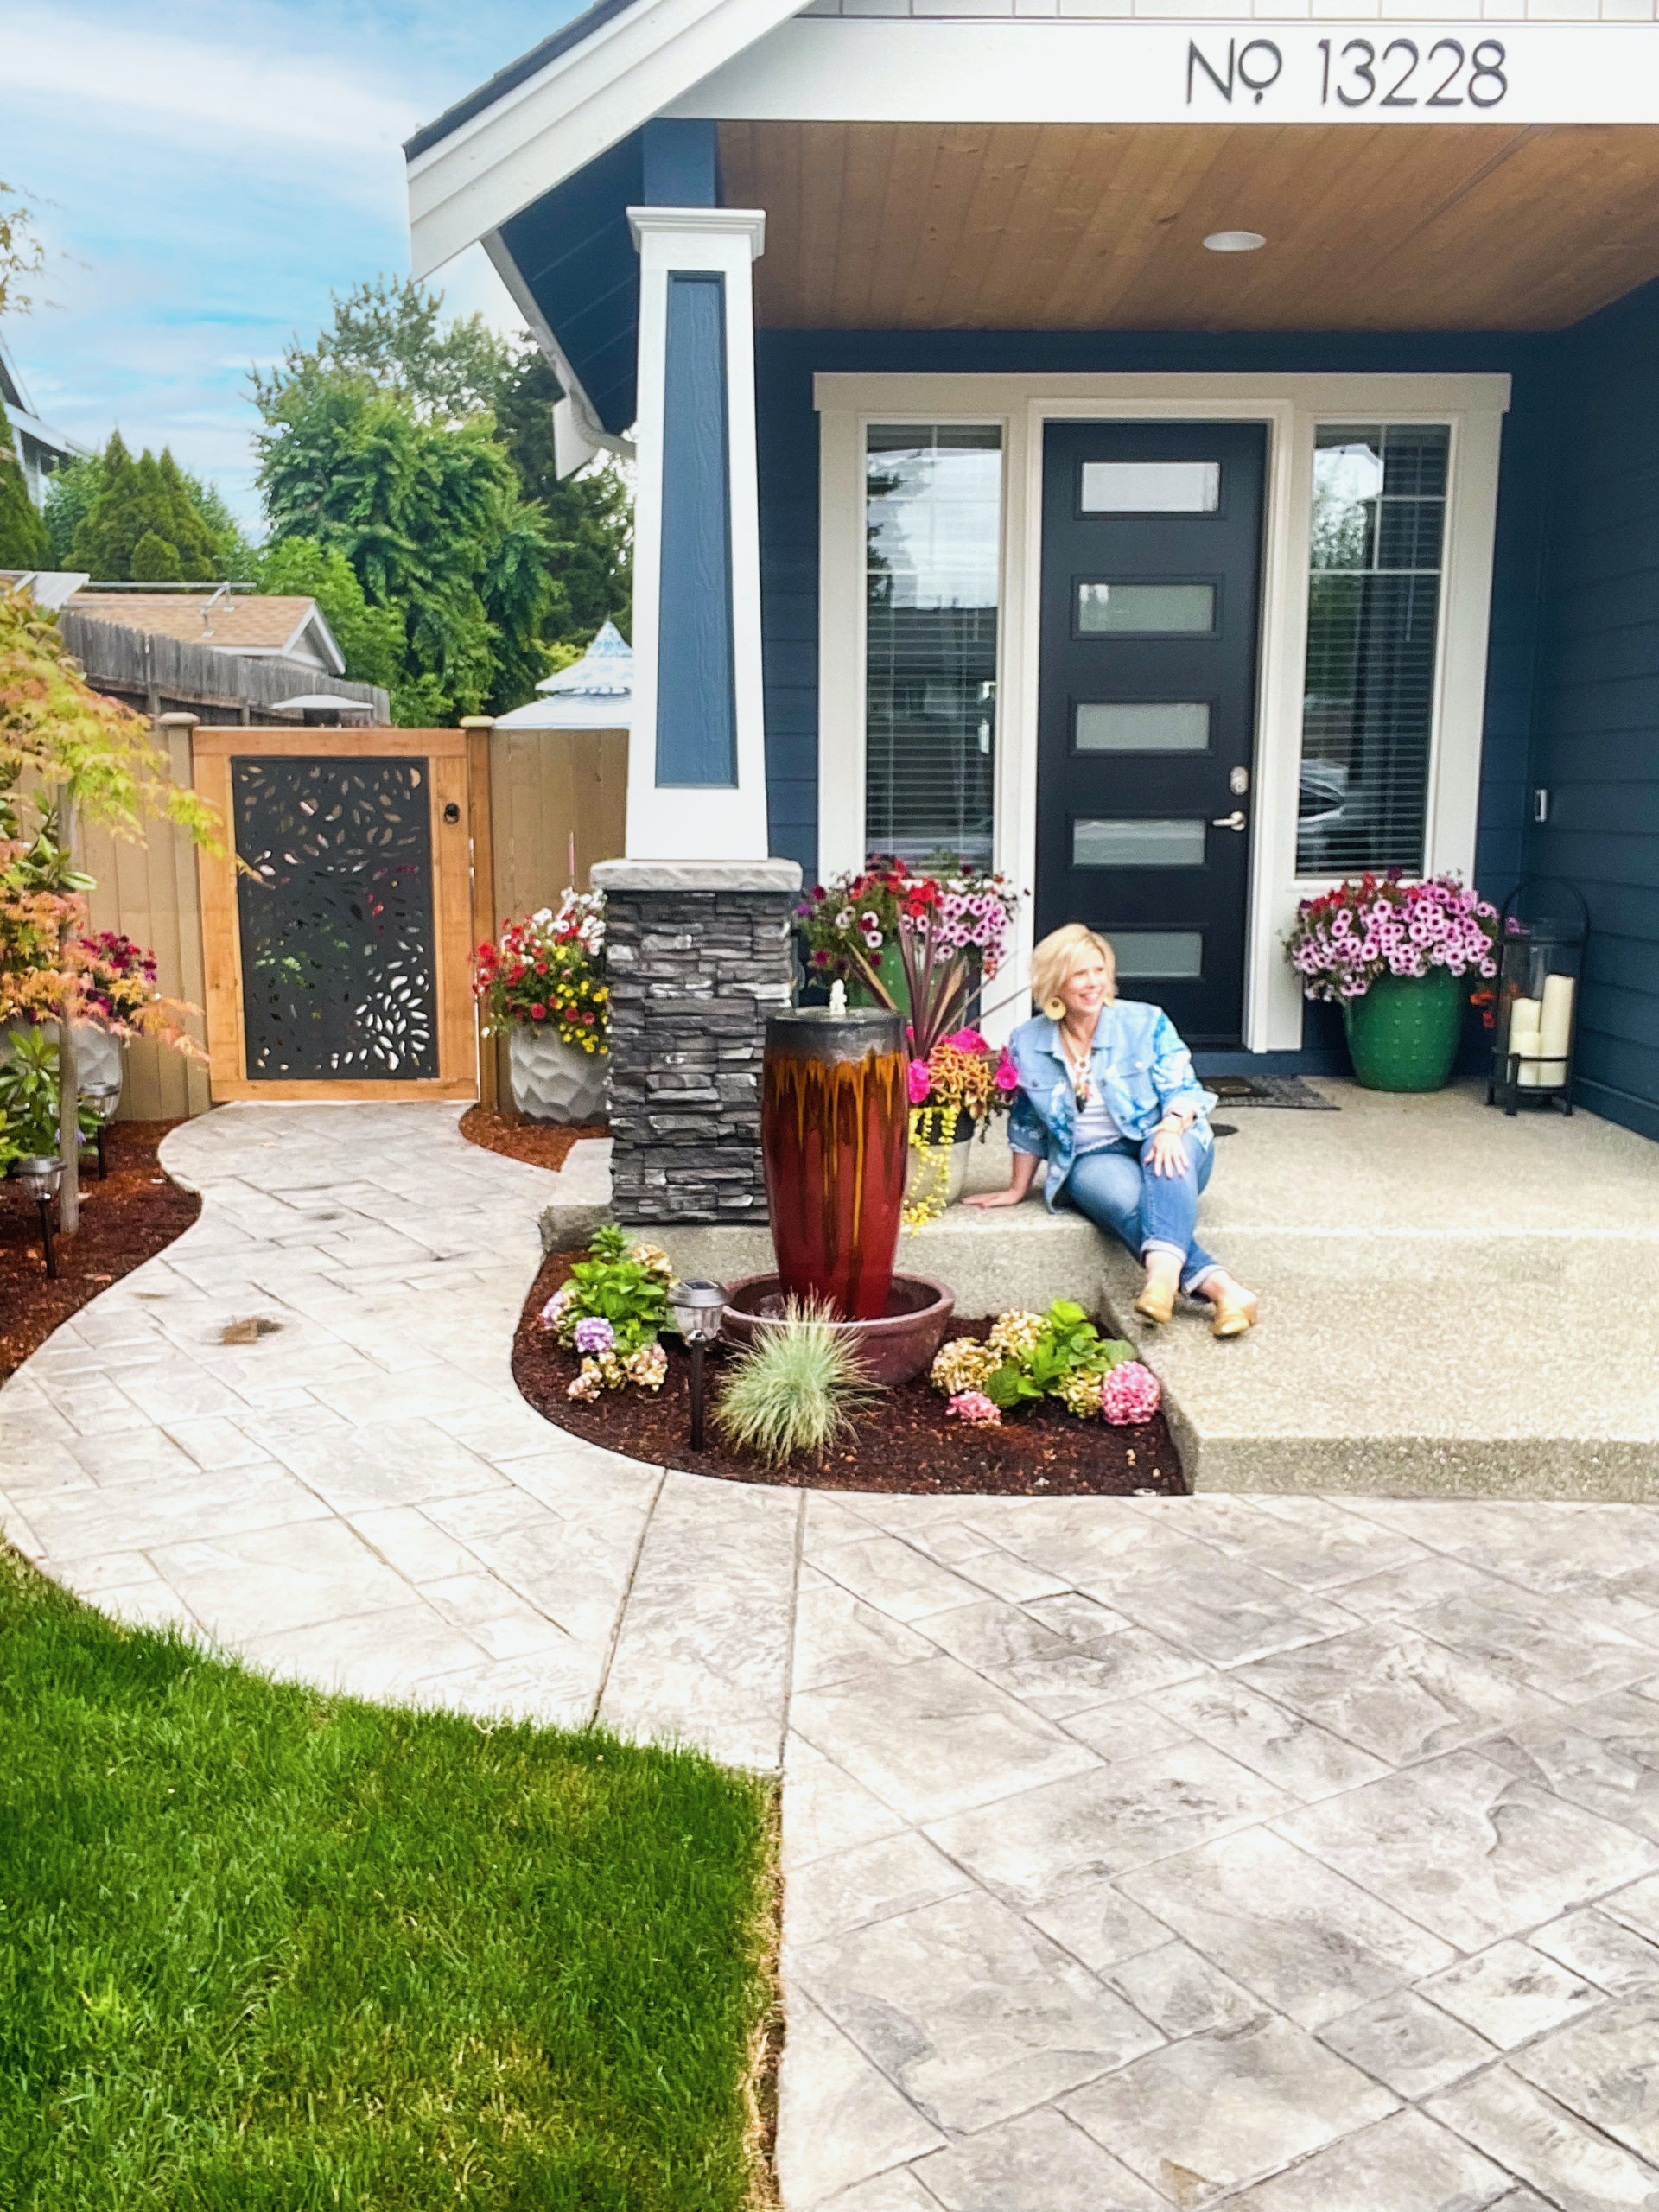
We started with the concrete pour first. After laying out the forms, we ended up increasing the project scope to include a seamless entrance to the backyard – thinking about future entertaining and easy access to the side yard. The pour also took a bit of time because the weather wasn’t cooperating but when they completed, we couldn’t be happier. It was exactly the look we wanted and so much more.
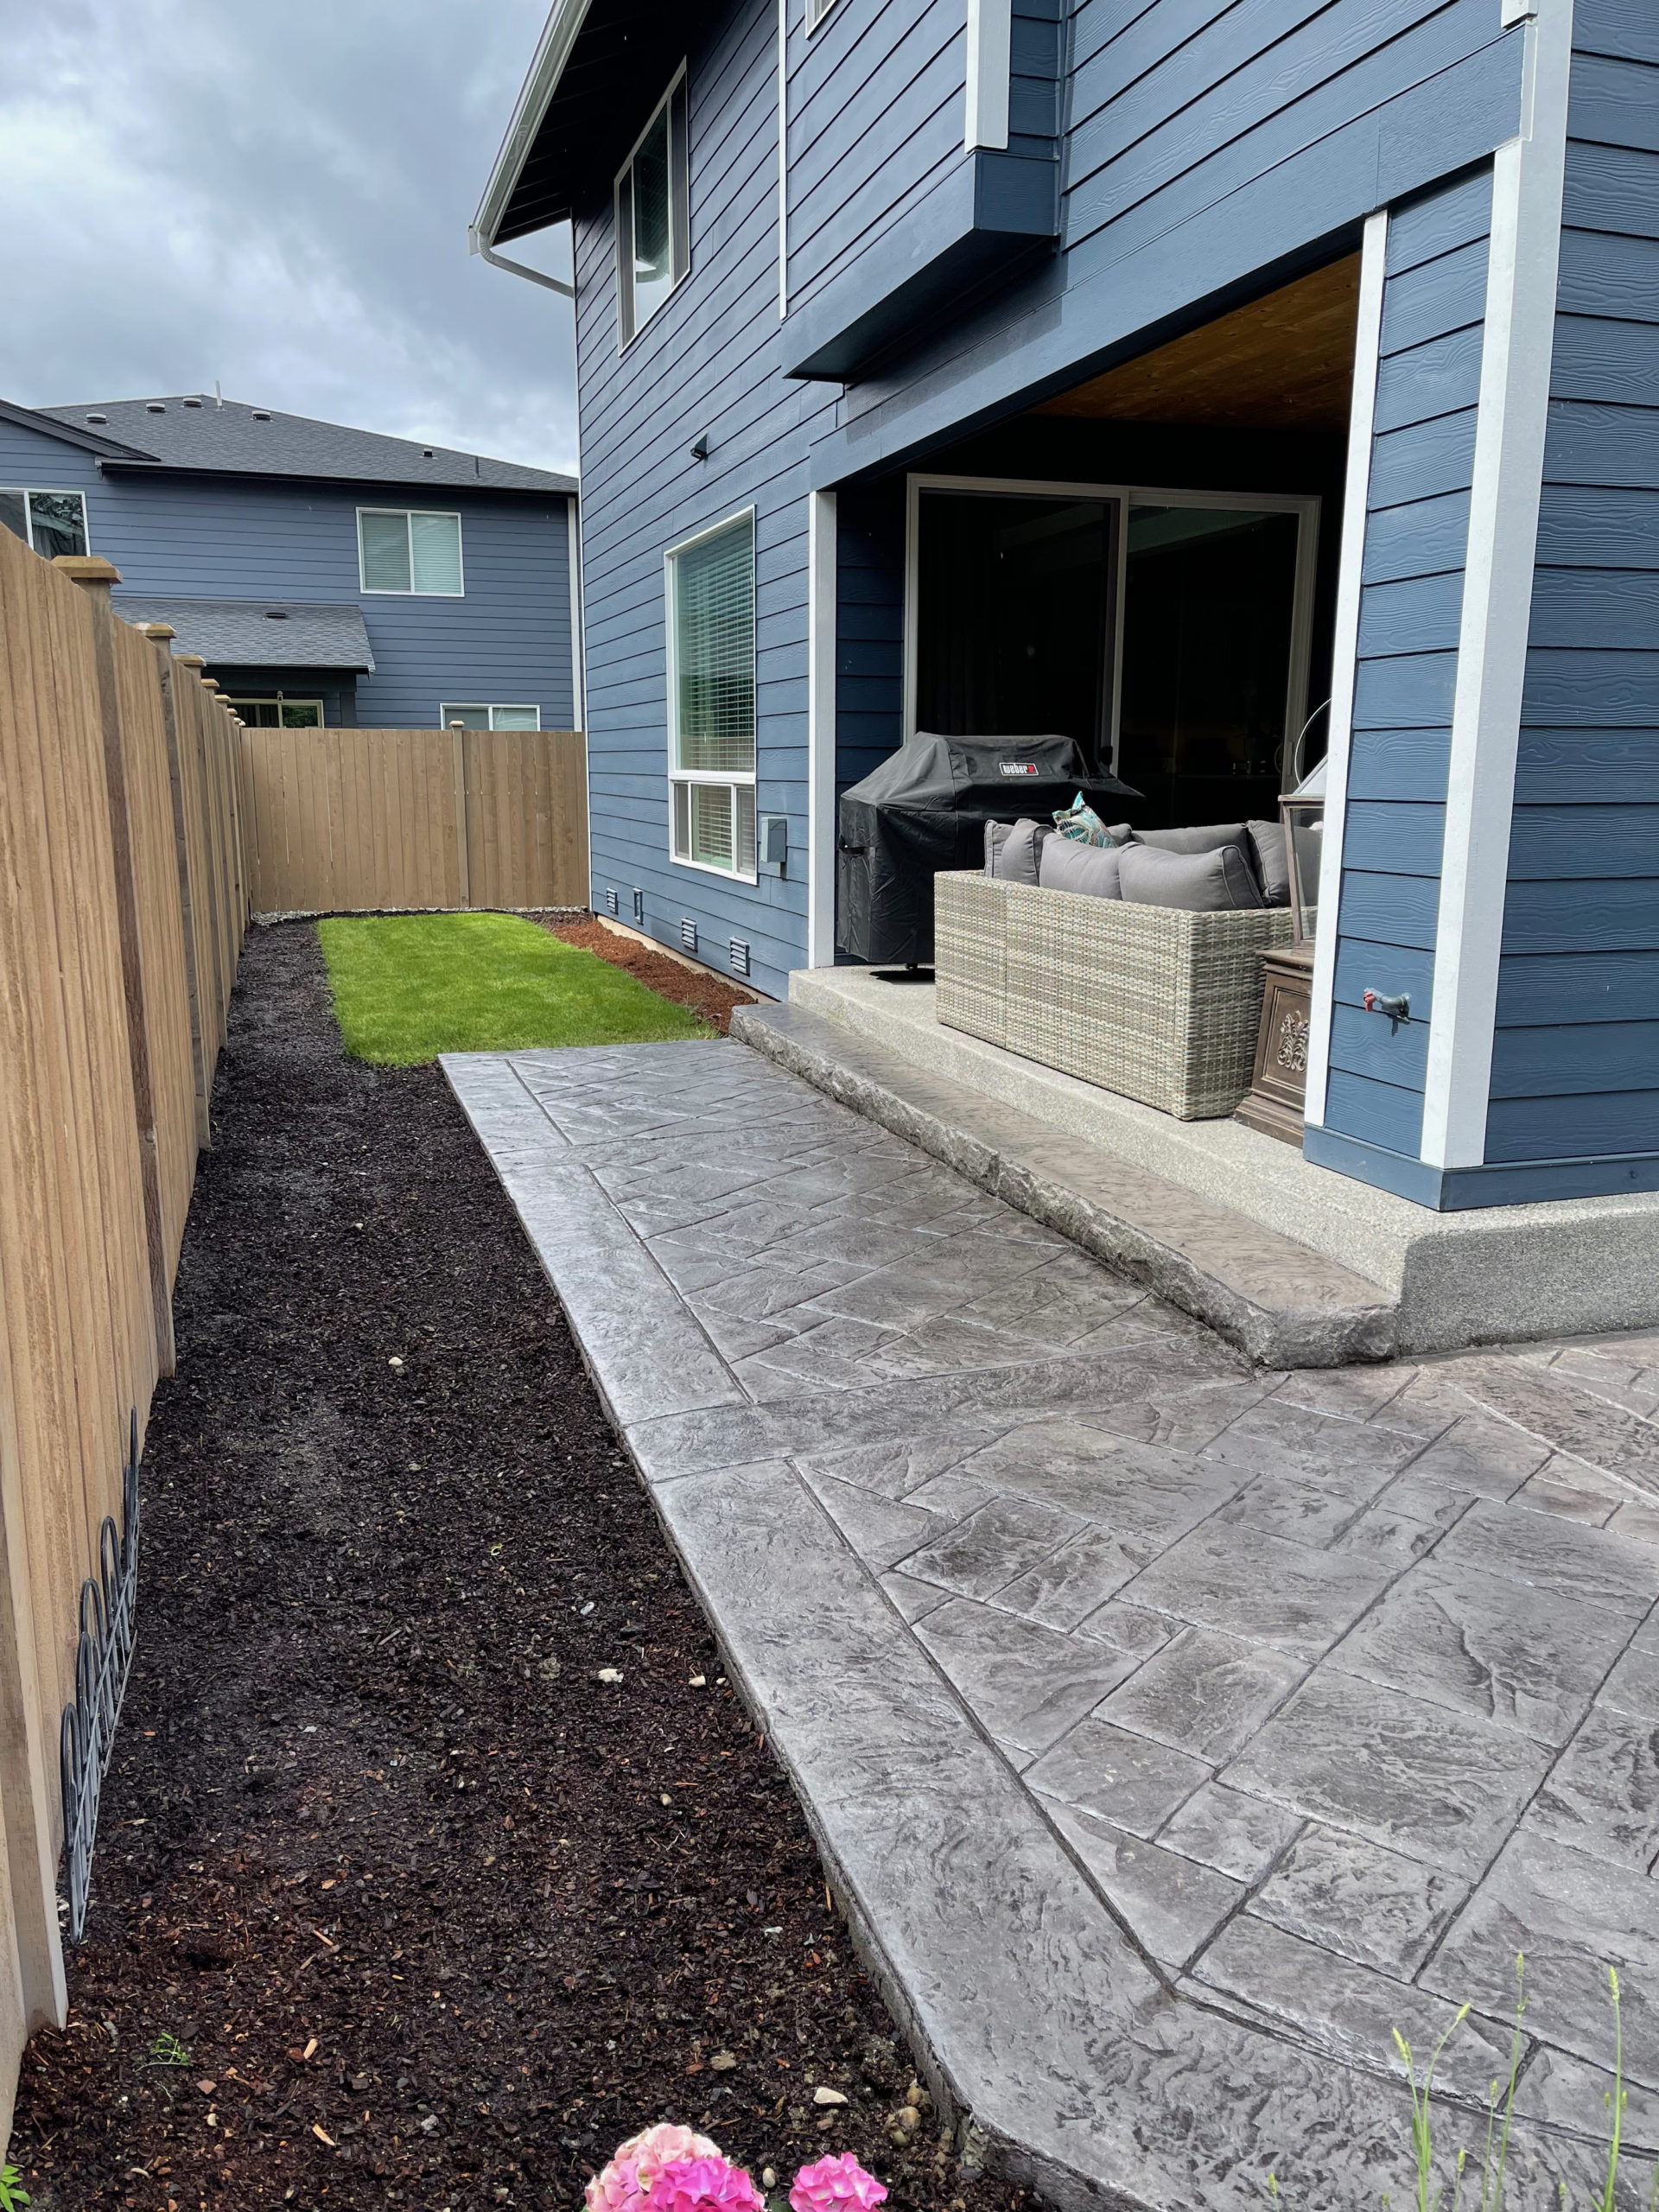
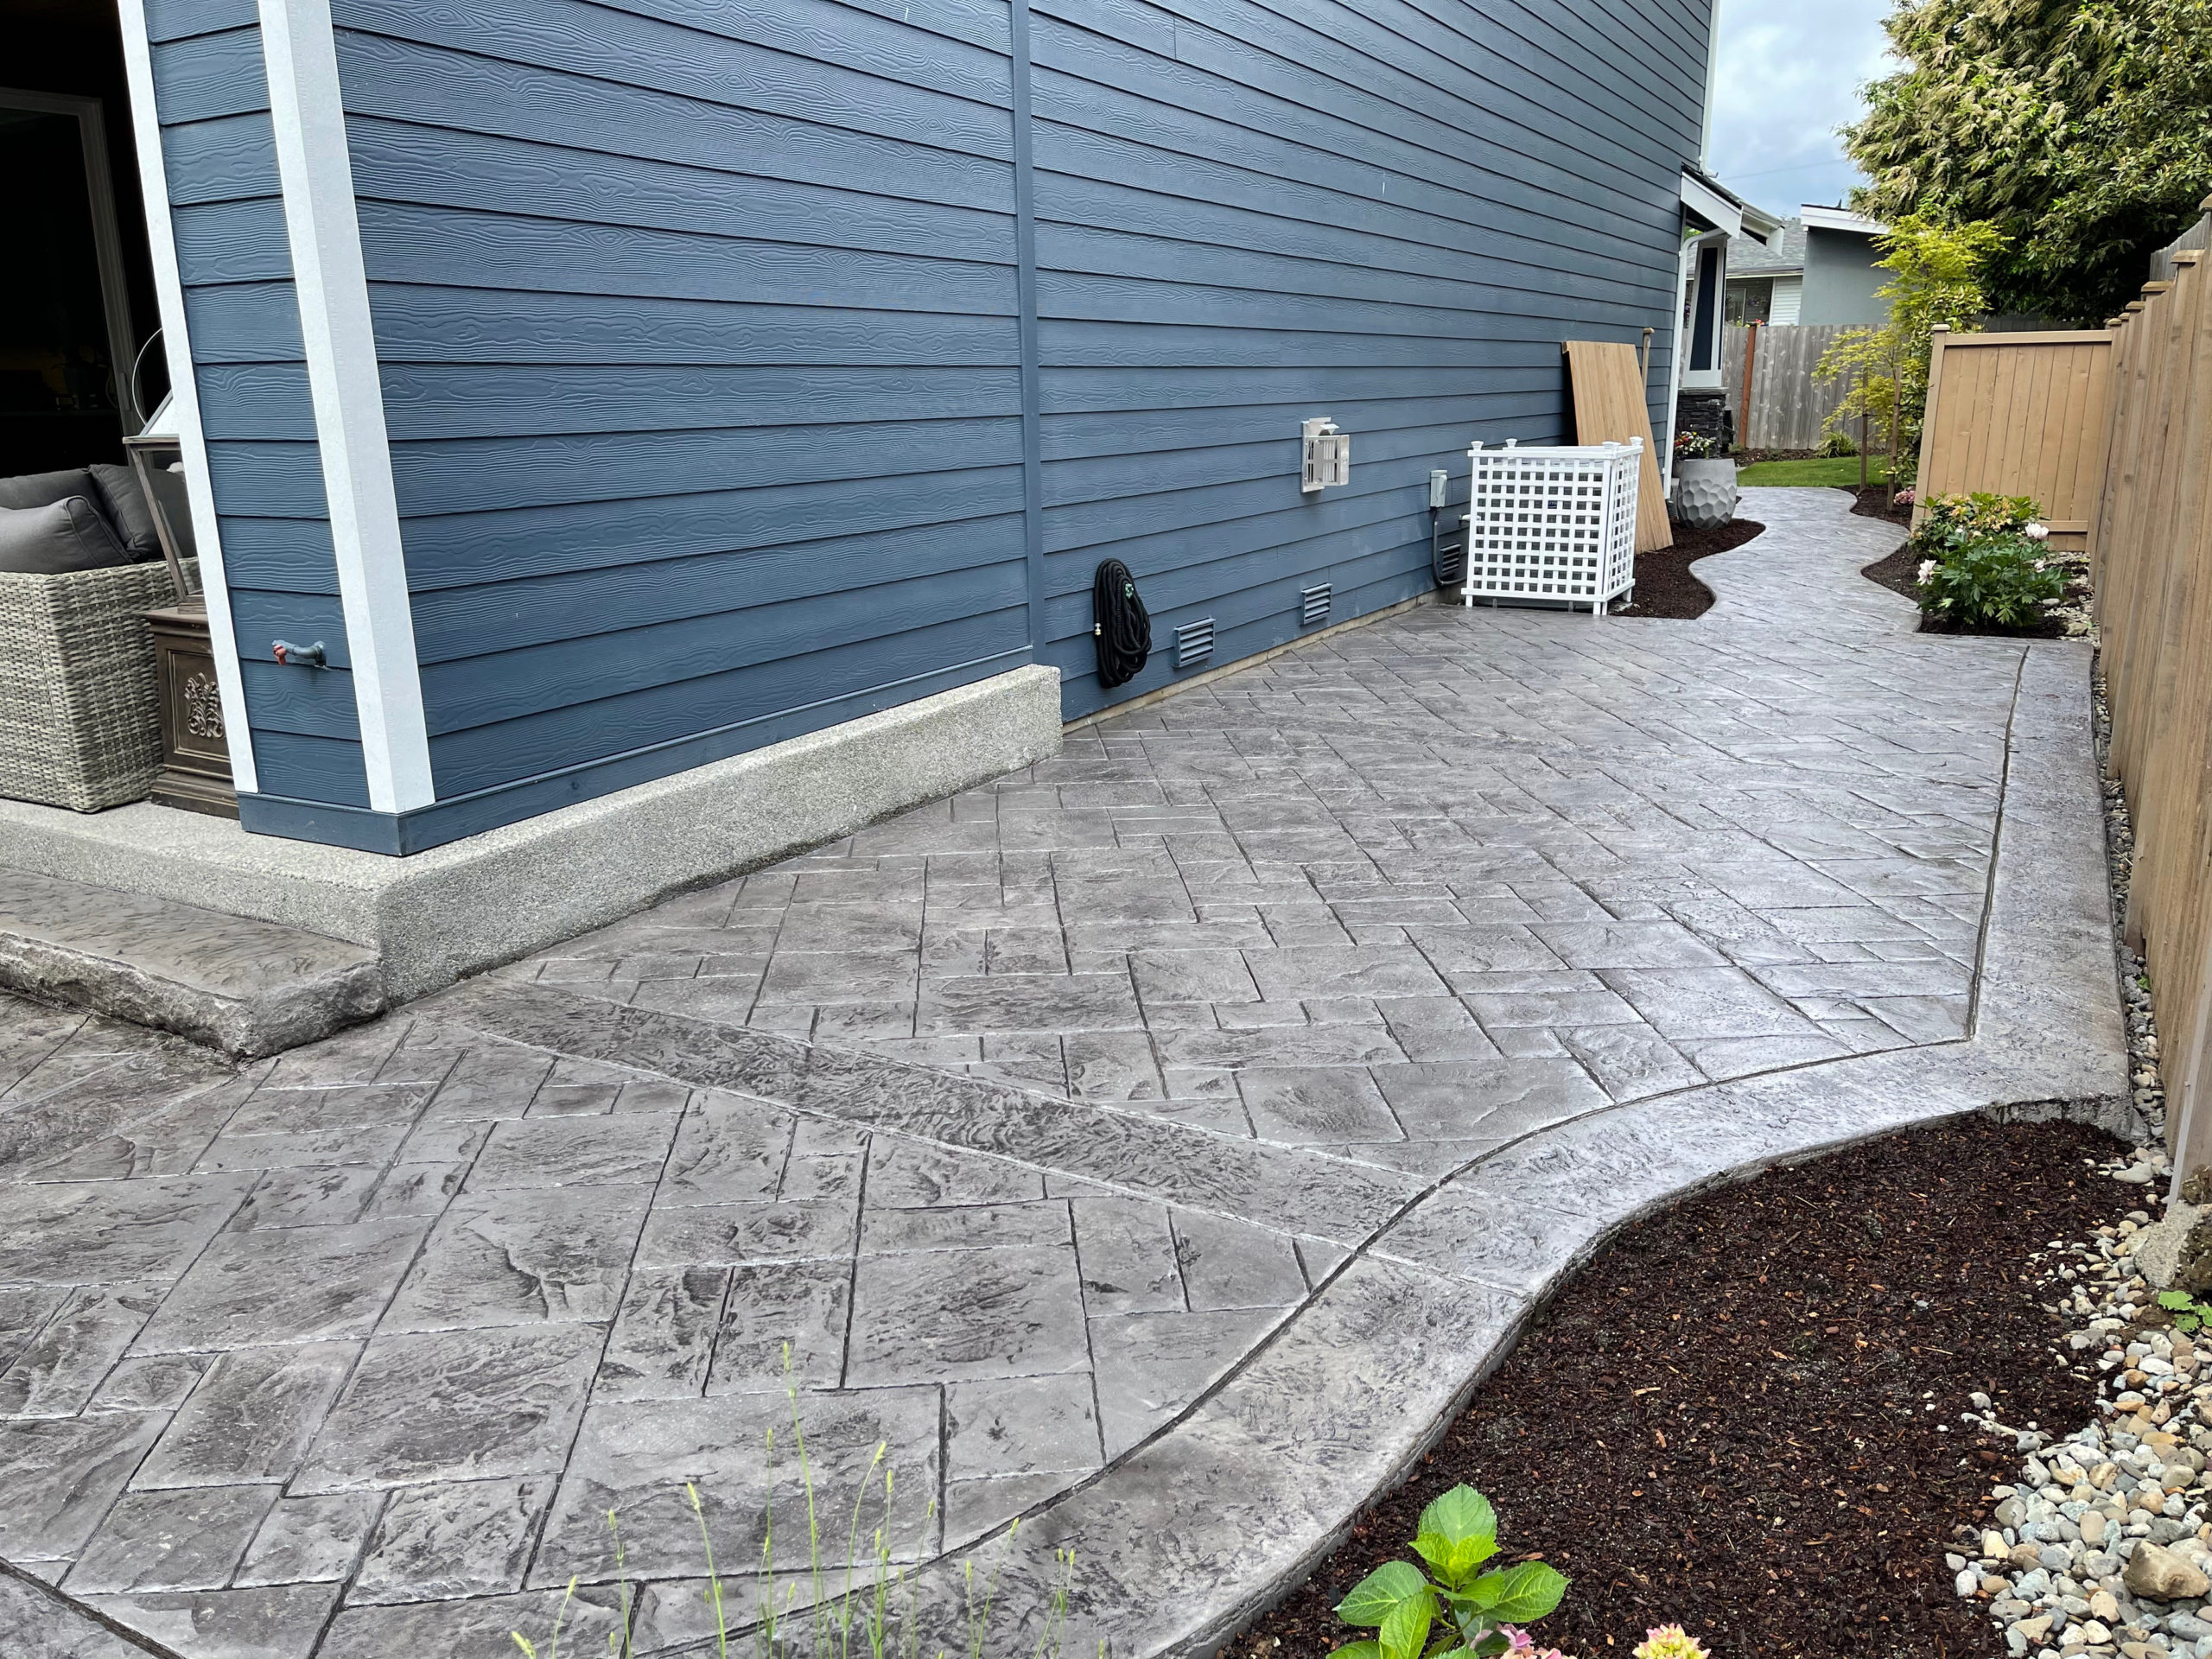
Next up was selecting the trees, shrubs, and plants. We hired a person from the local nursery to help us with the design layout and plant suggestions. He originally planned for six trellises that were 5 feet wide by 7 feet tall with a climbing evergreen plant. After pricing out having trellises built, we changed course to choose a different option – Arborvitae that can grow up to 2 feet a year.
So with a very good friend who loves gardening and knows wayyyyy more about trees, shrubs, and plants than me, off to the nursery we went. With the plant design layout in hand and our budget in mind we meandered around the nursery making our selections – 1 Magnolia Tree, 1 Dogwood Tree, 12 Arborvitae, and about 26 assorted plants – all within budget.
We then made a plan for the delivery of our selections from the nursery and the date on the calendar to plant our selections – planting took 2 days of digging holes, planting our selections, and lots of fun spending the days with a very good friend.
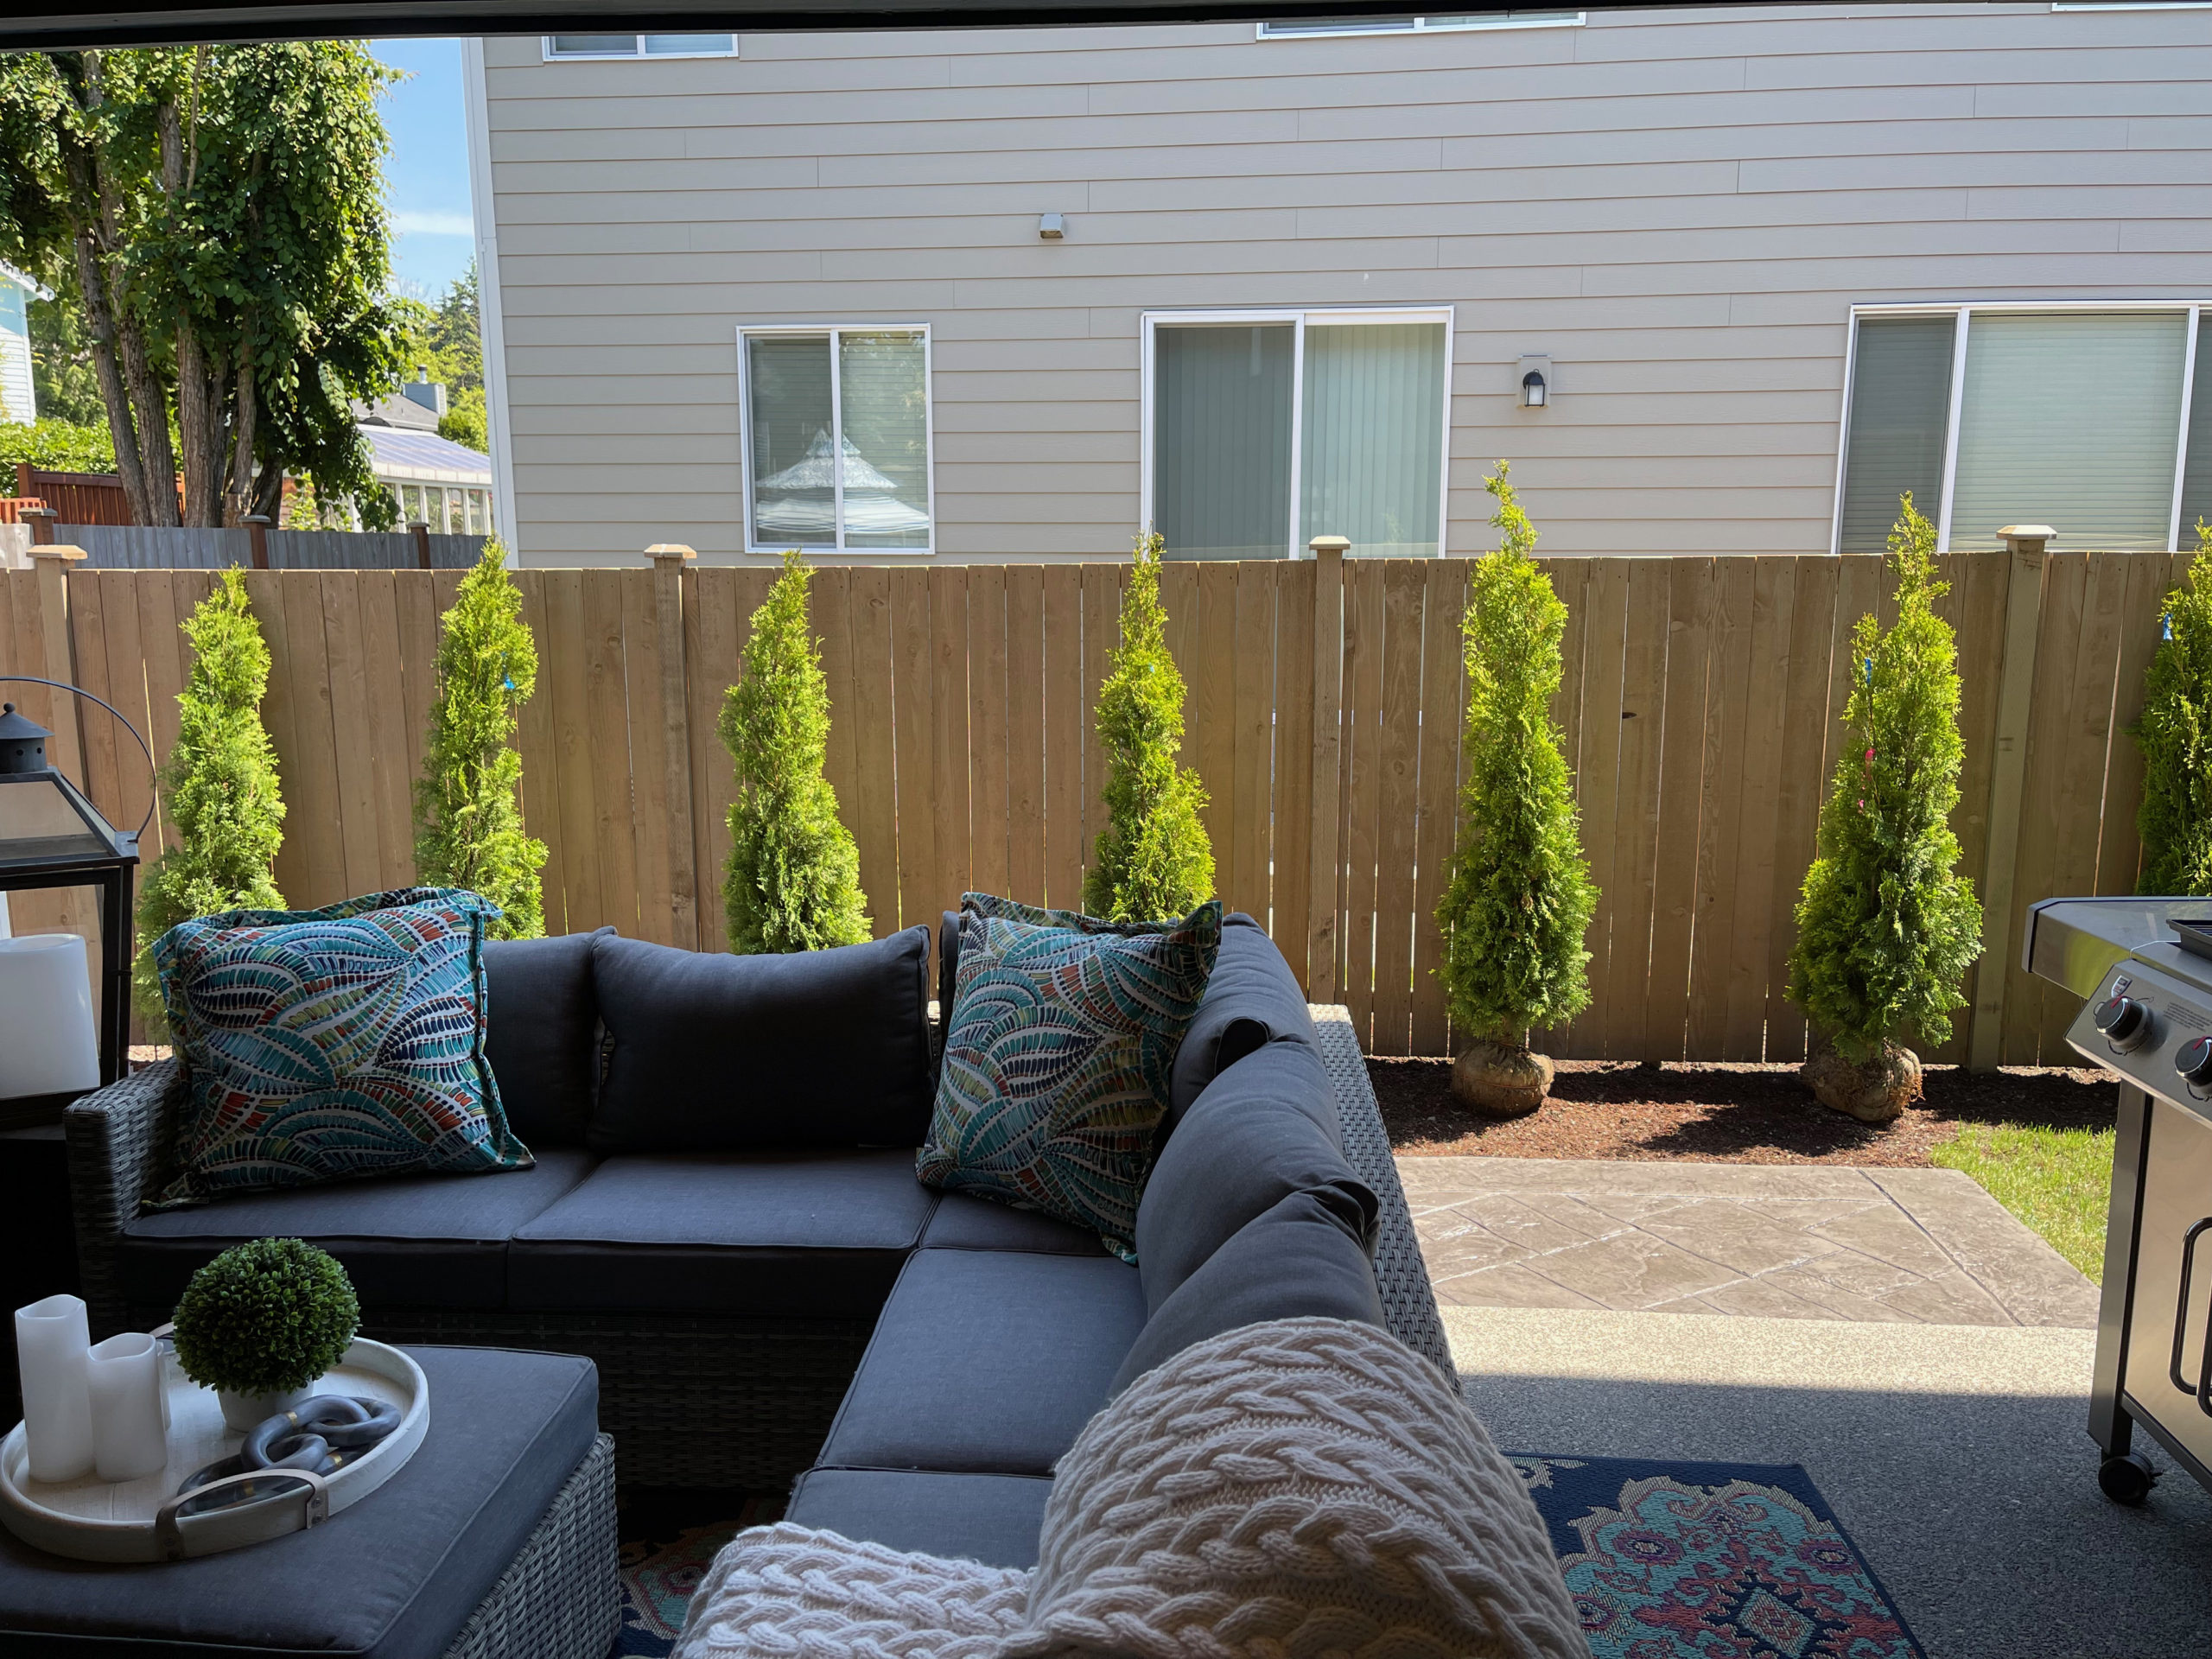
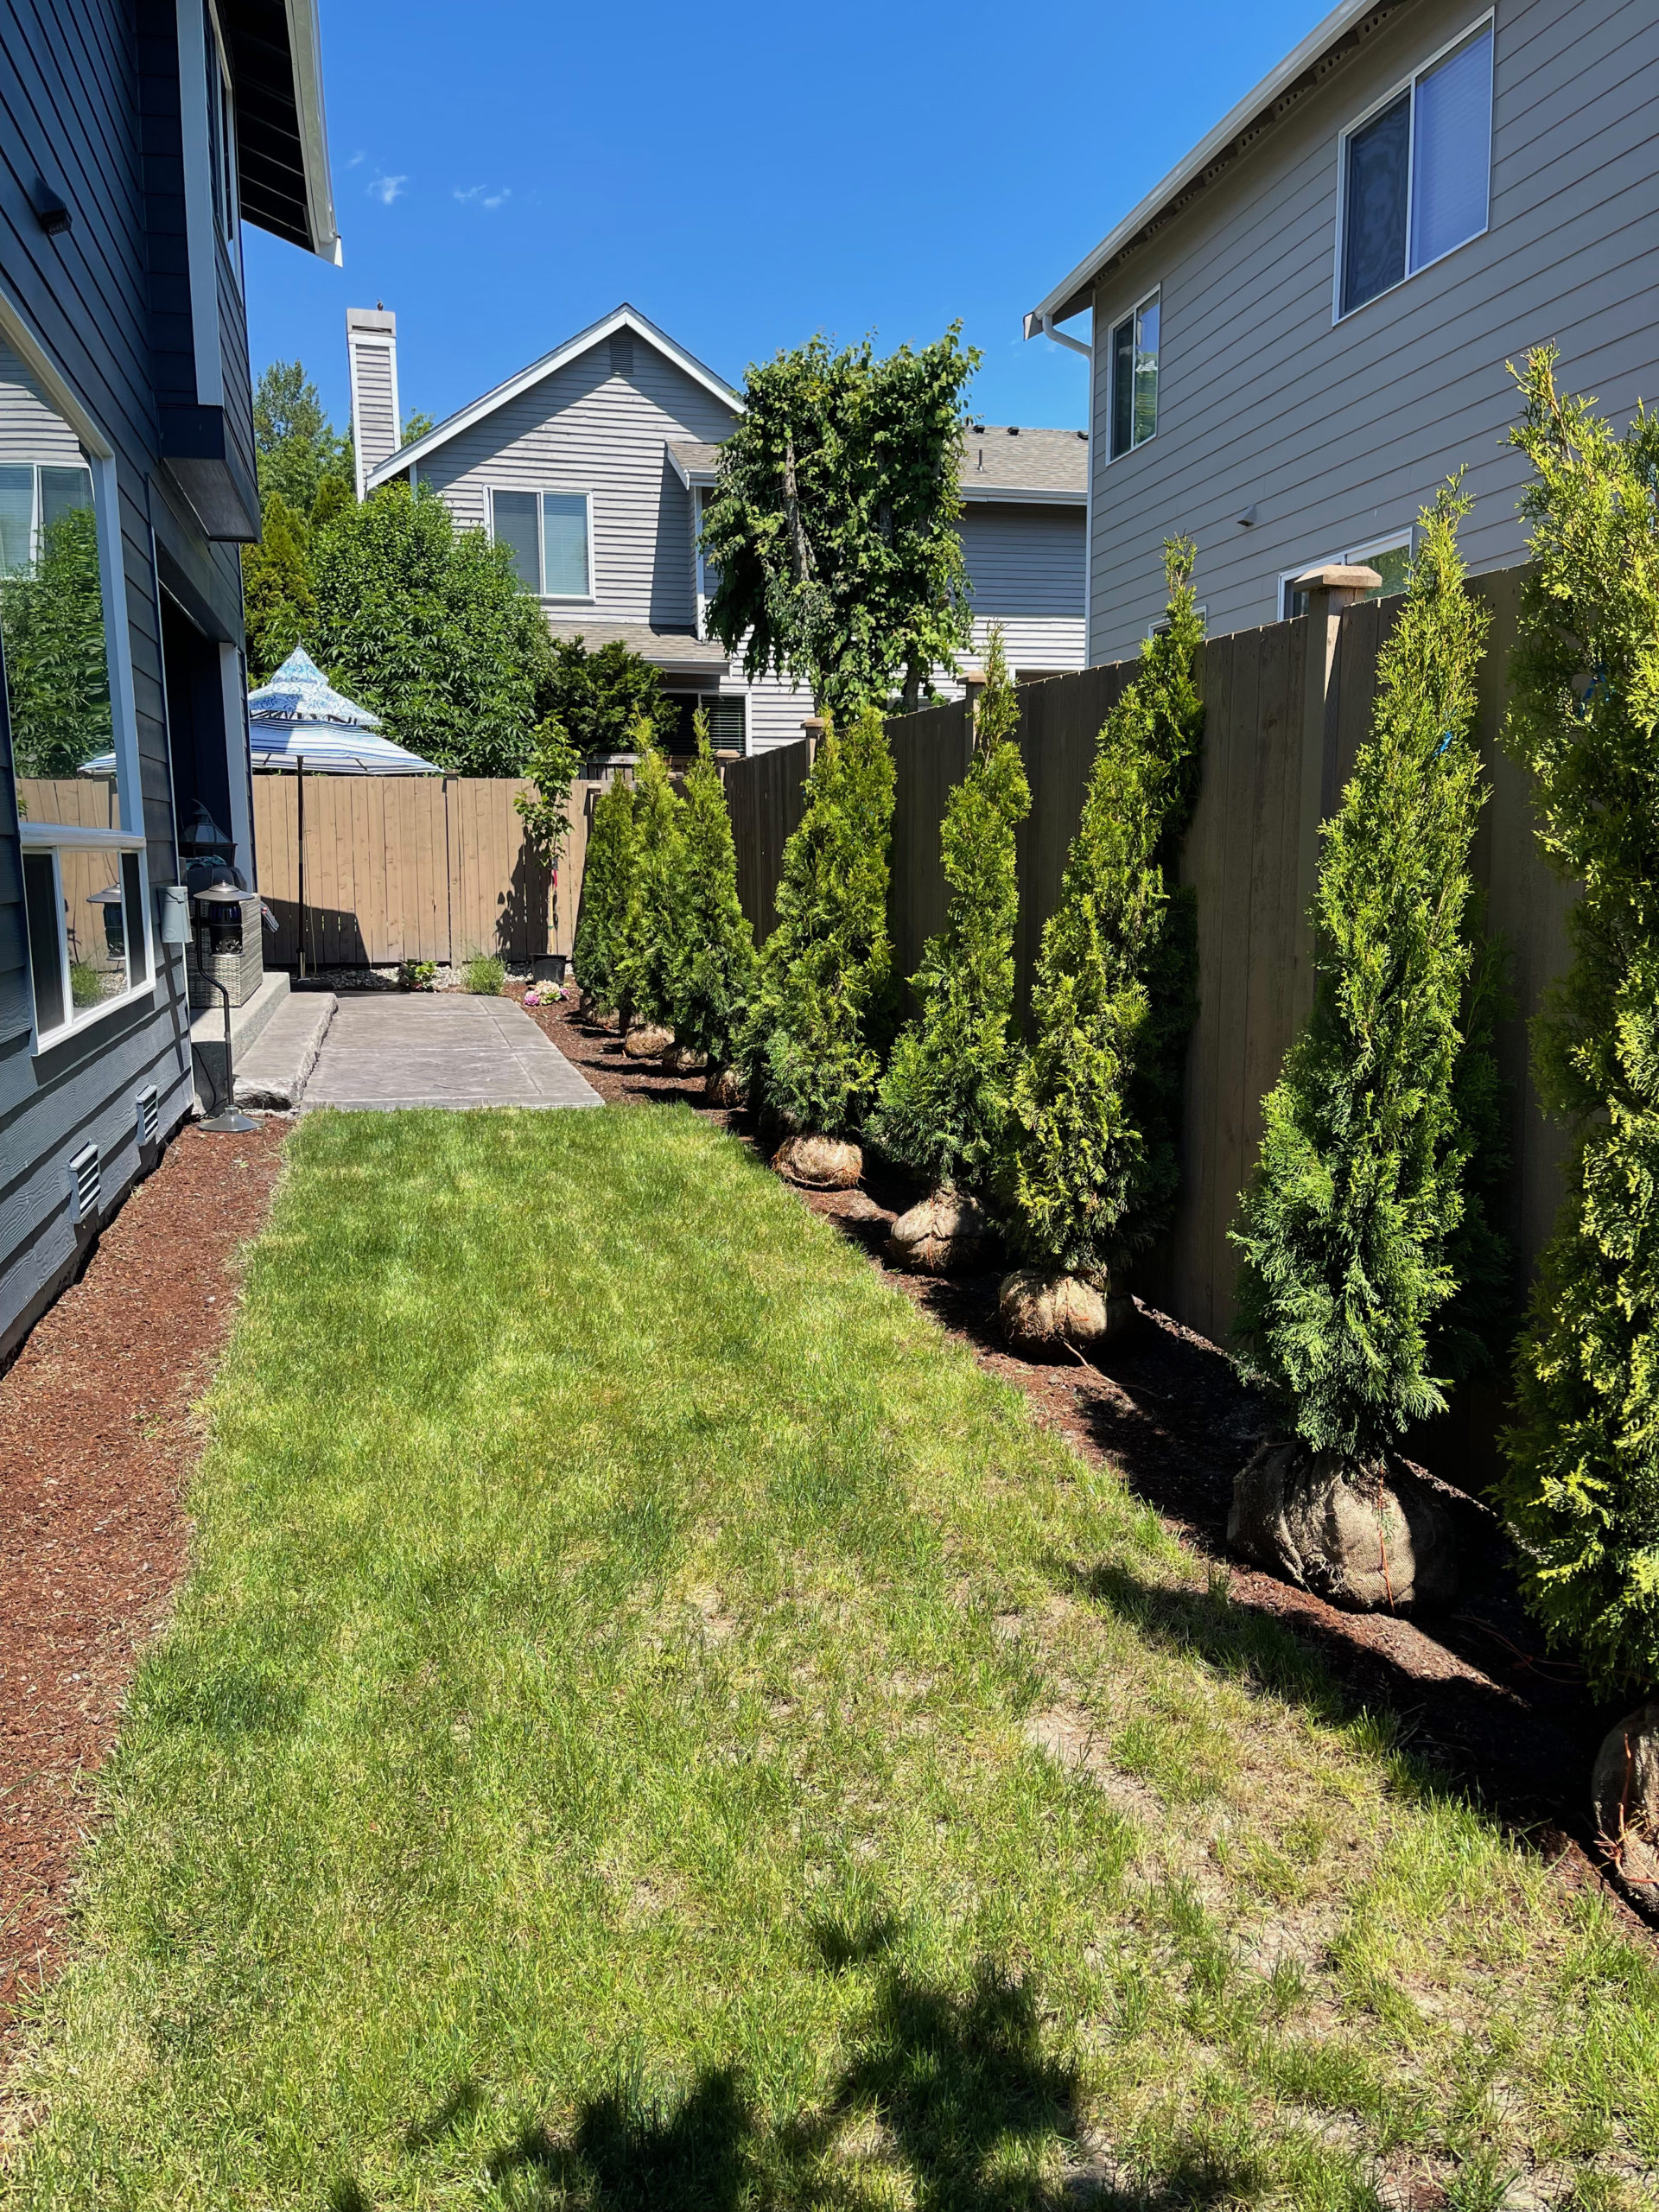
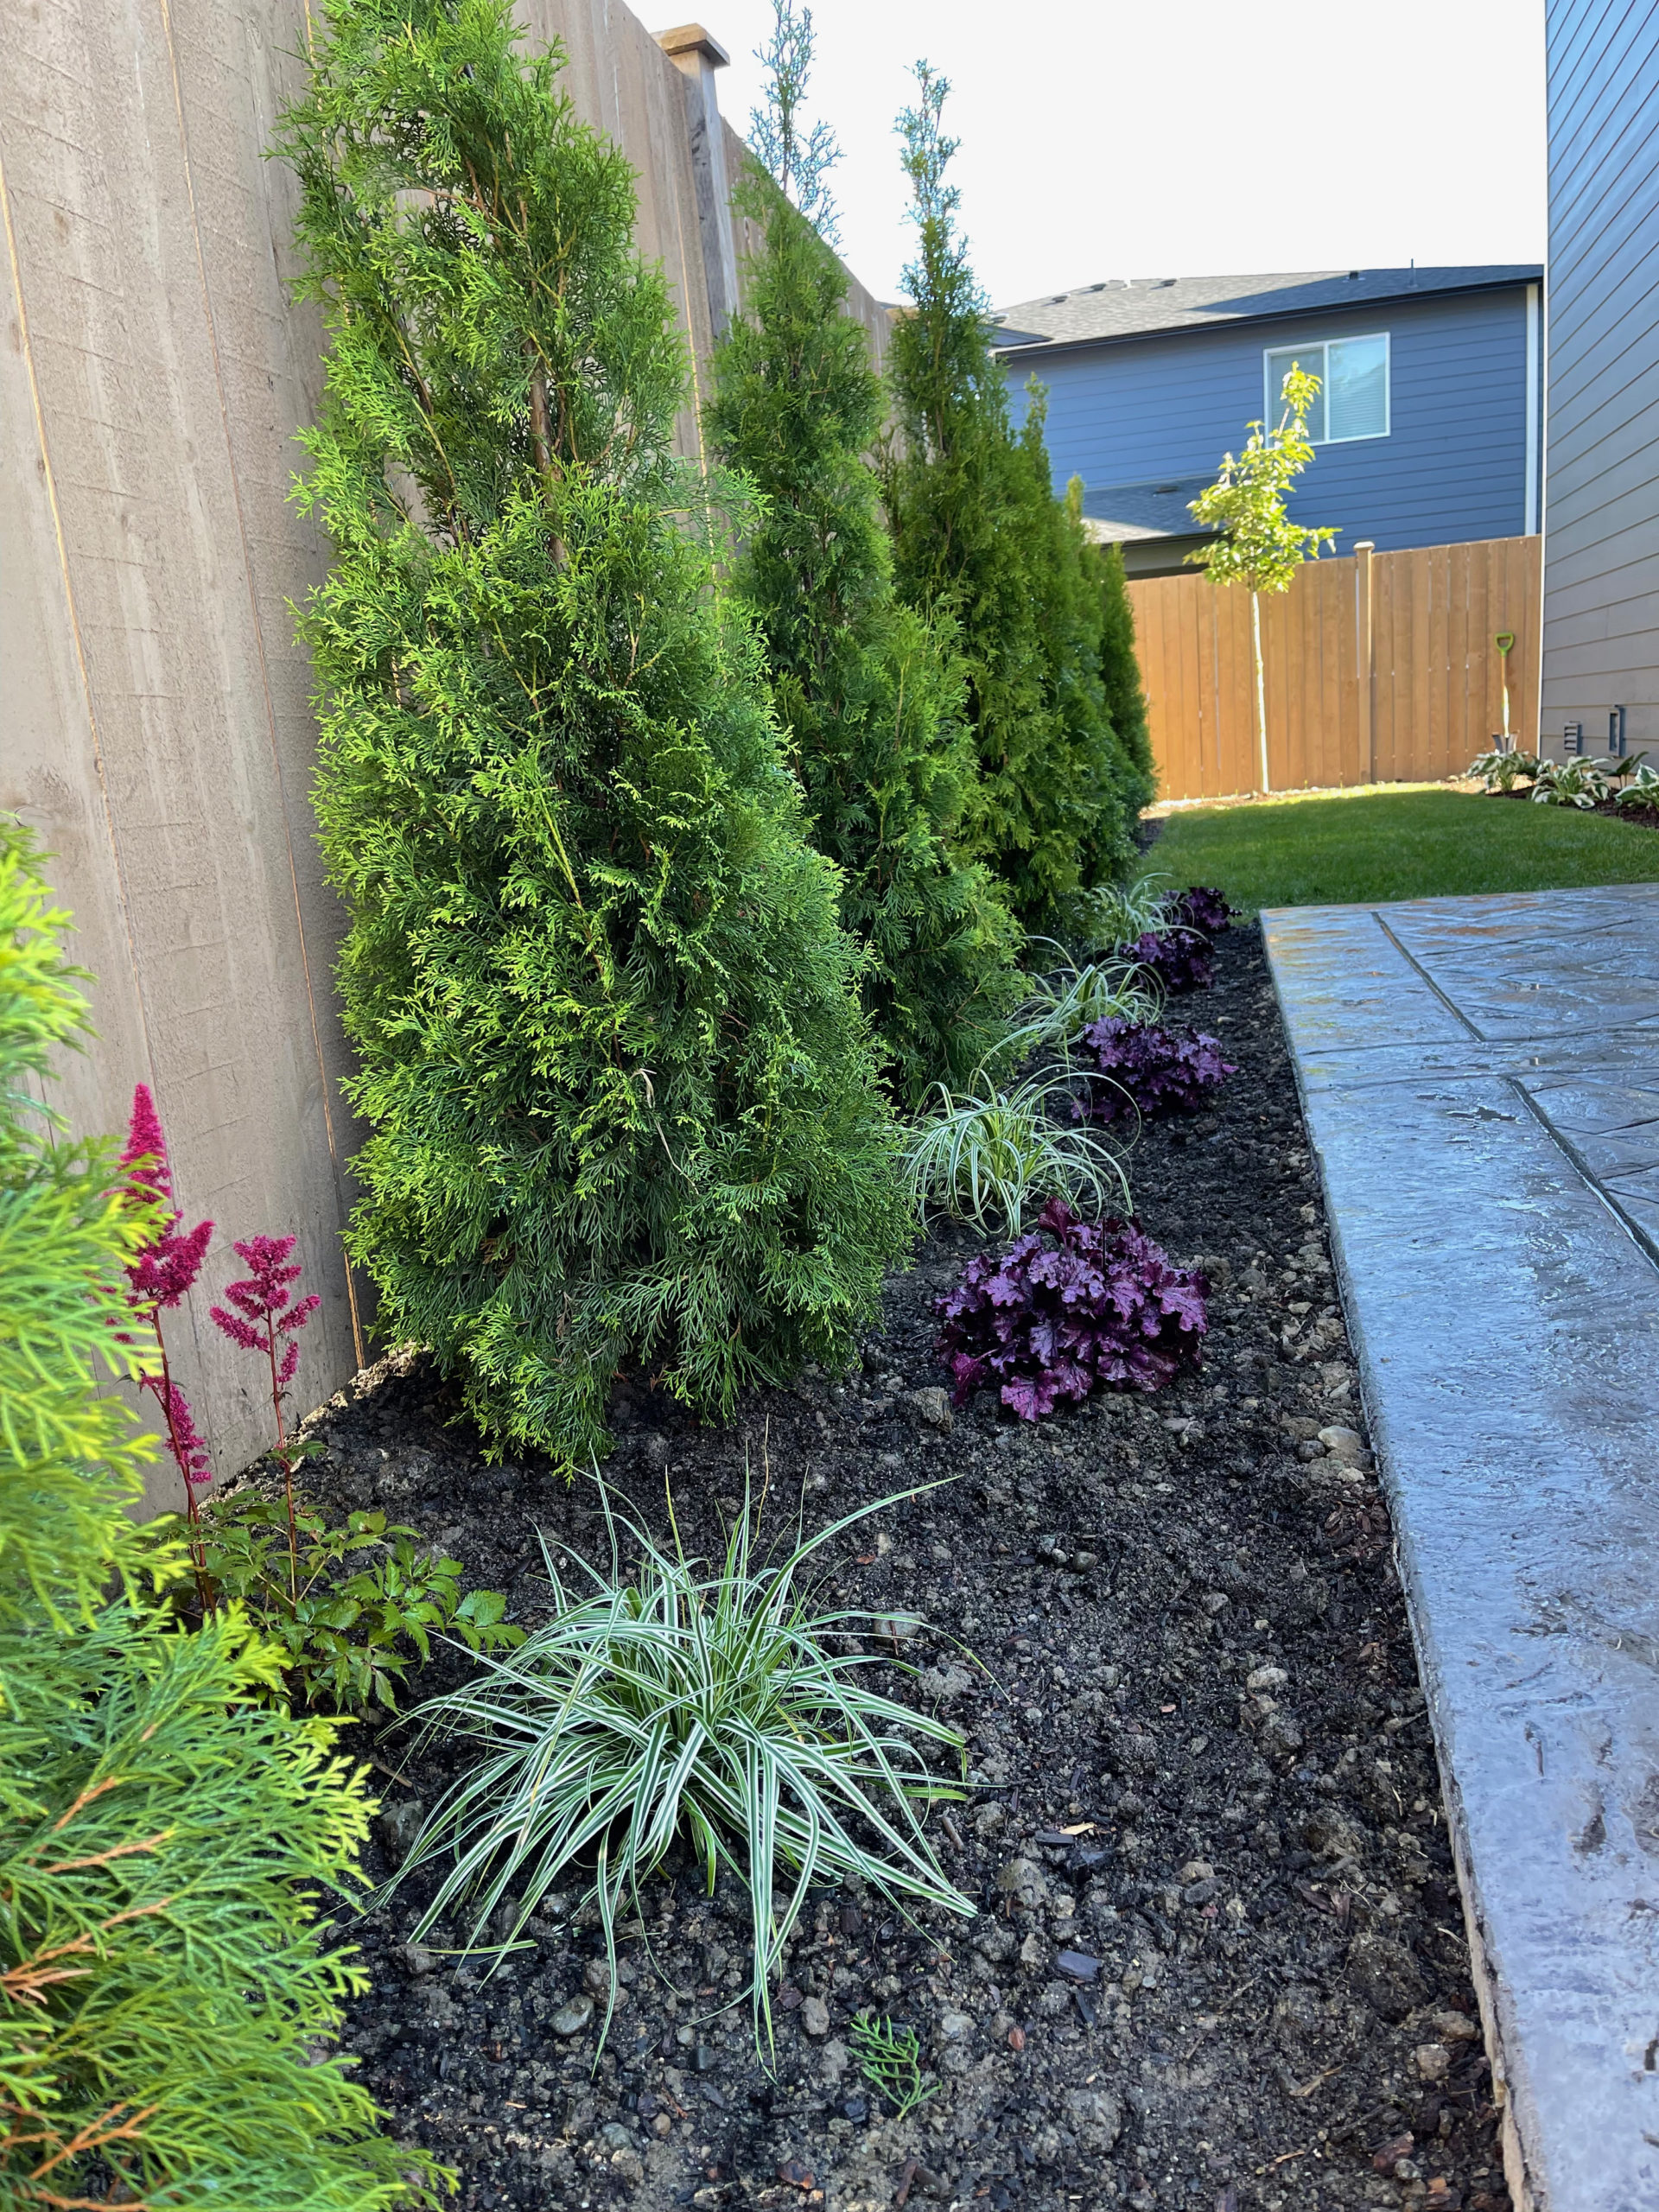
Next up was creating the entertaining space we had desired and installing a decorative gate.
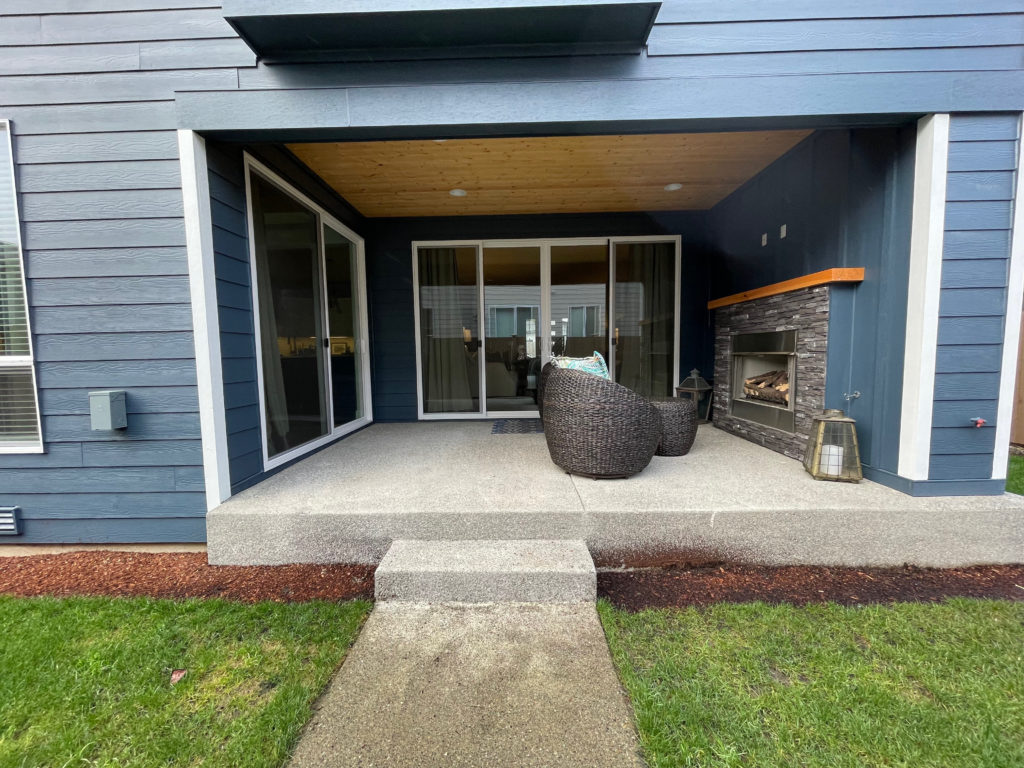
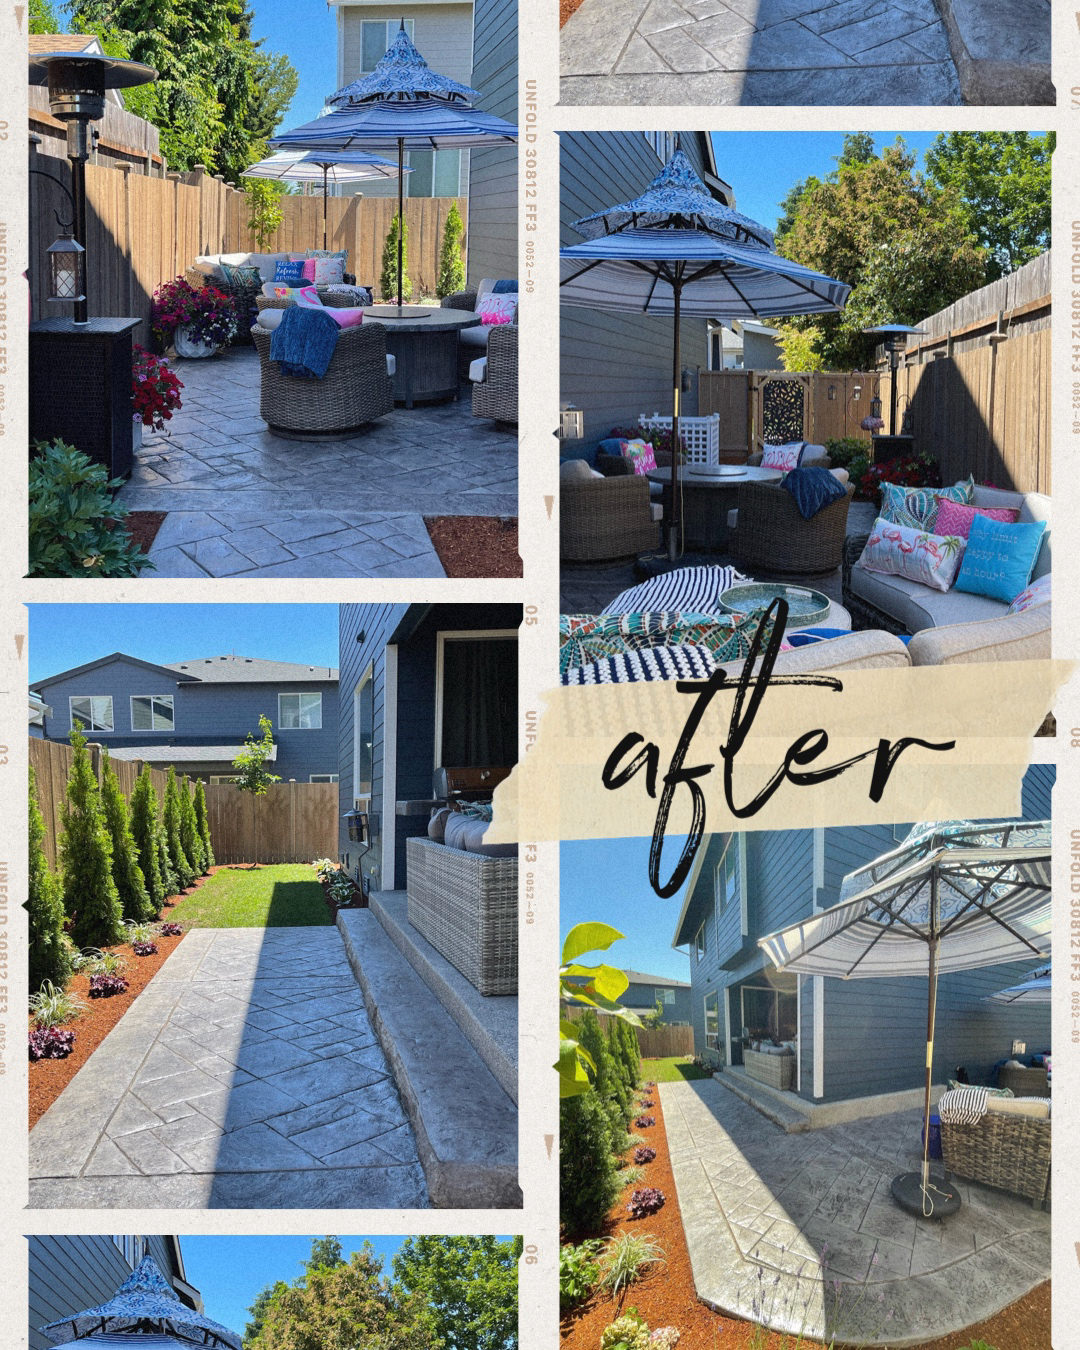
For the entertaining space. We had a sectional sofa and patio heater (both were new-ish and had been in storage). We decided to purchase a new fire pit chat group in a coordinating style and 2 new Pagoda Style Umbrellas. We had also just recently purchased a sectional for the upper patio (outside our back sliders) for cozy seating next to our outdoor fireplace.
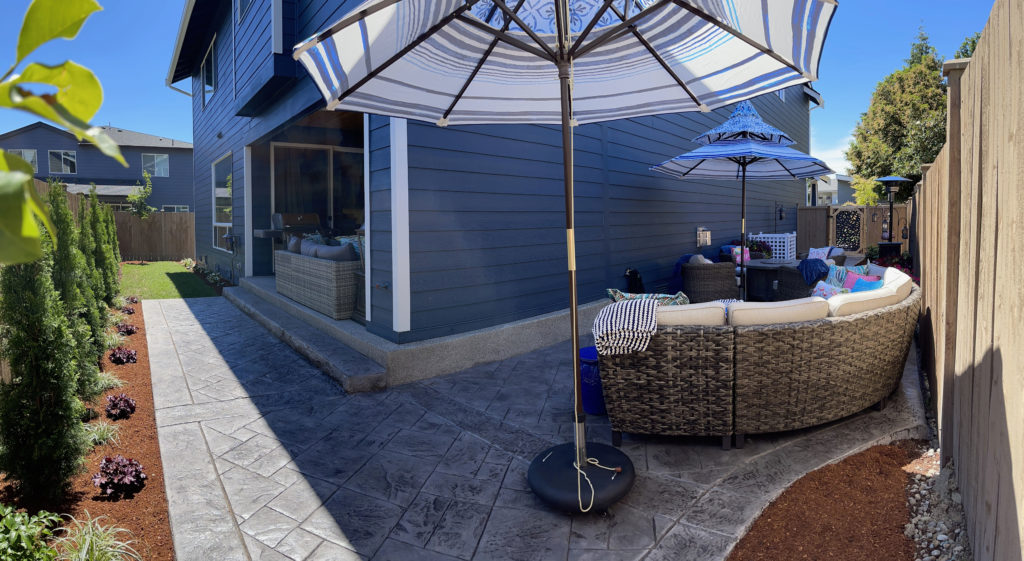
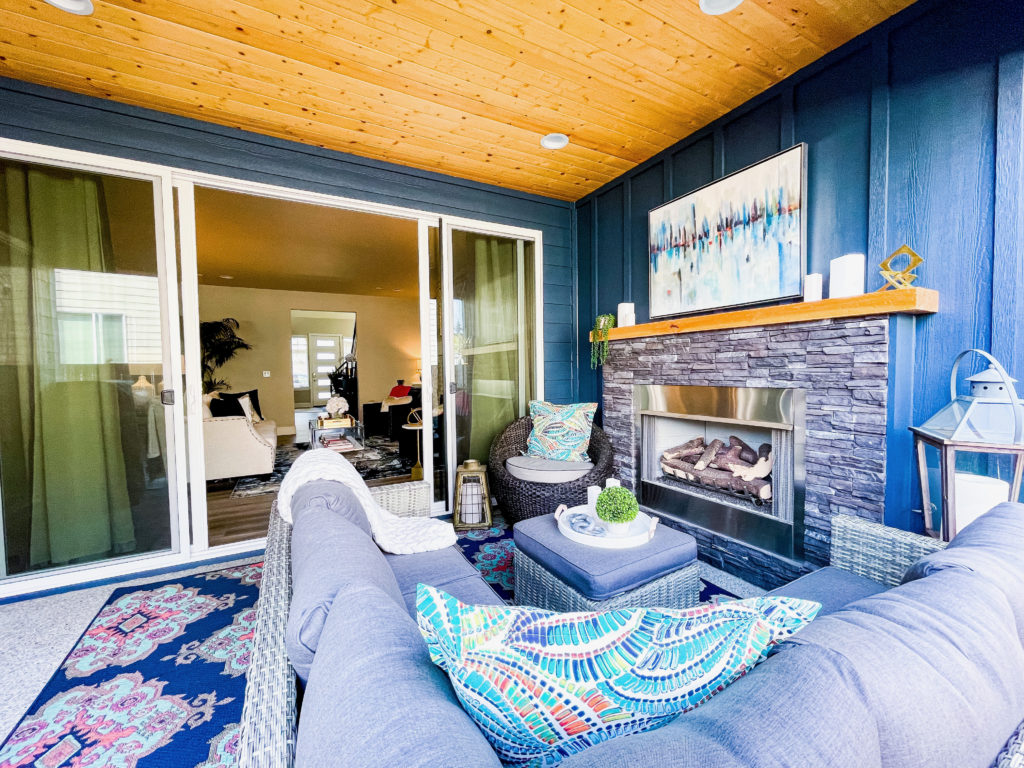
Our contractor helped us create our decorative gate that led to our new side yard space. I purchased a 5-foot by 3-foot composite decorative fence panel from Wayfair and an ornate iron gate latch from Amazon and he made my sketched gate design a reality.
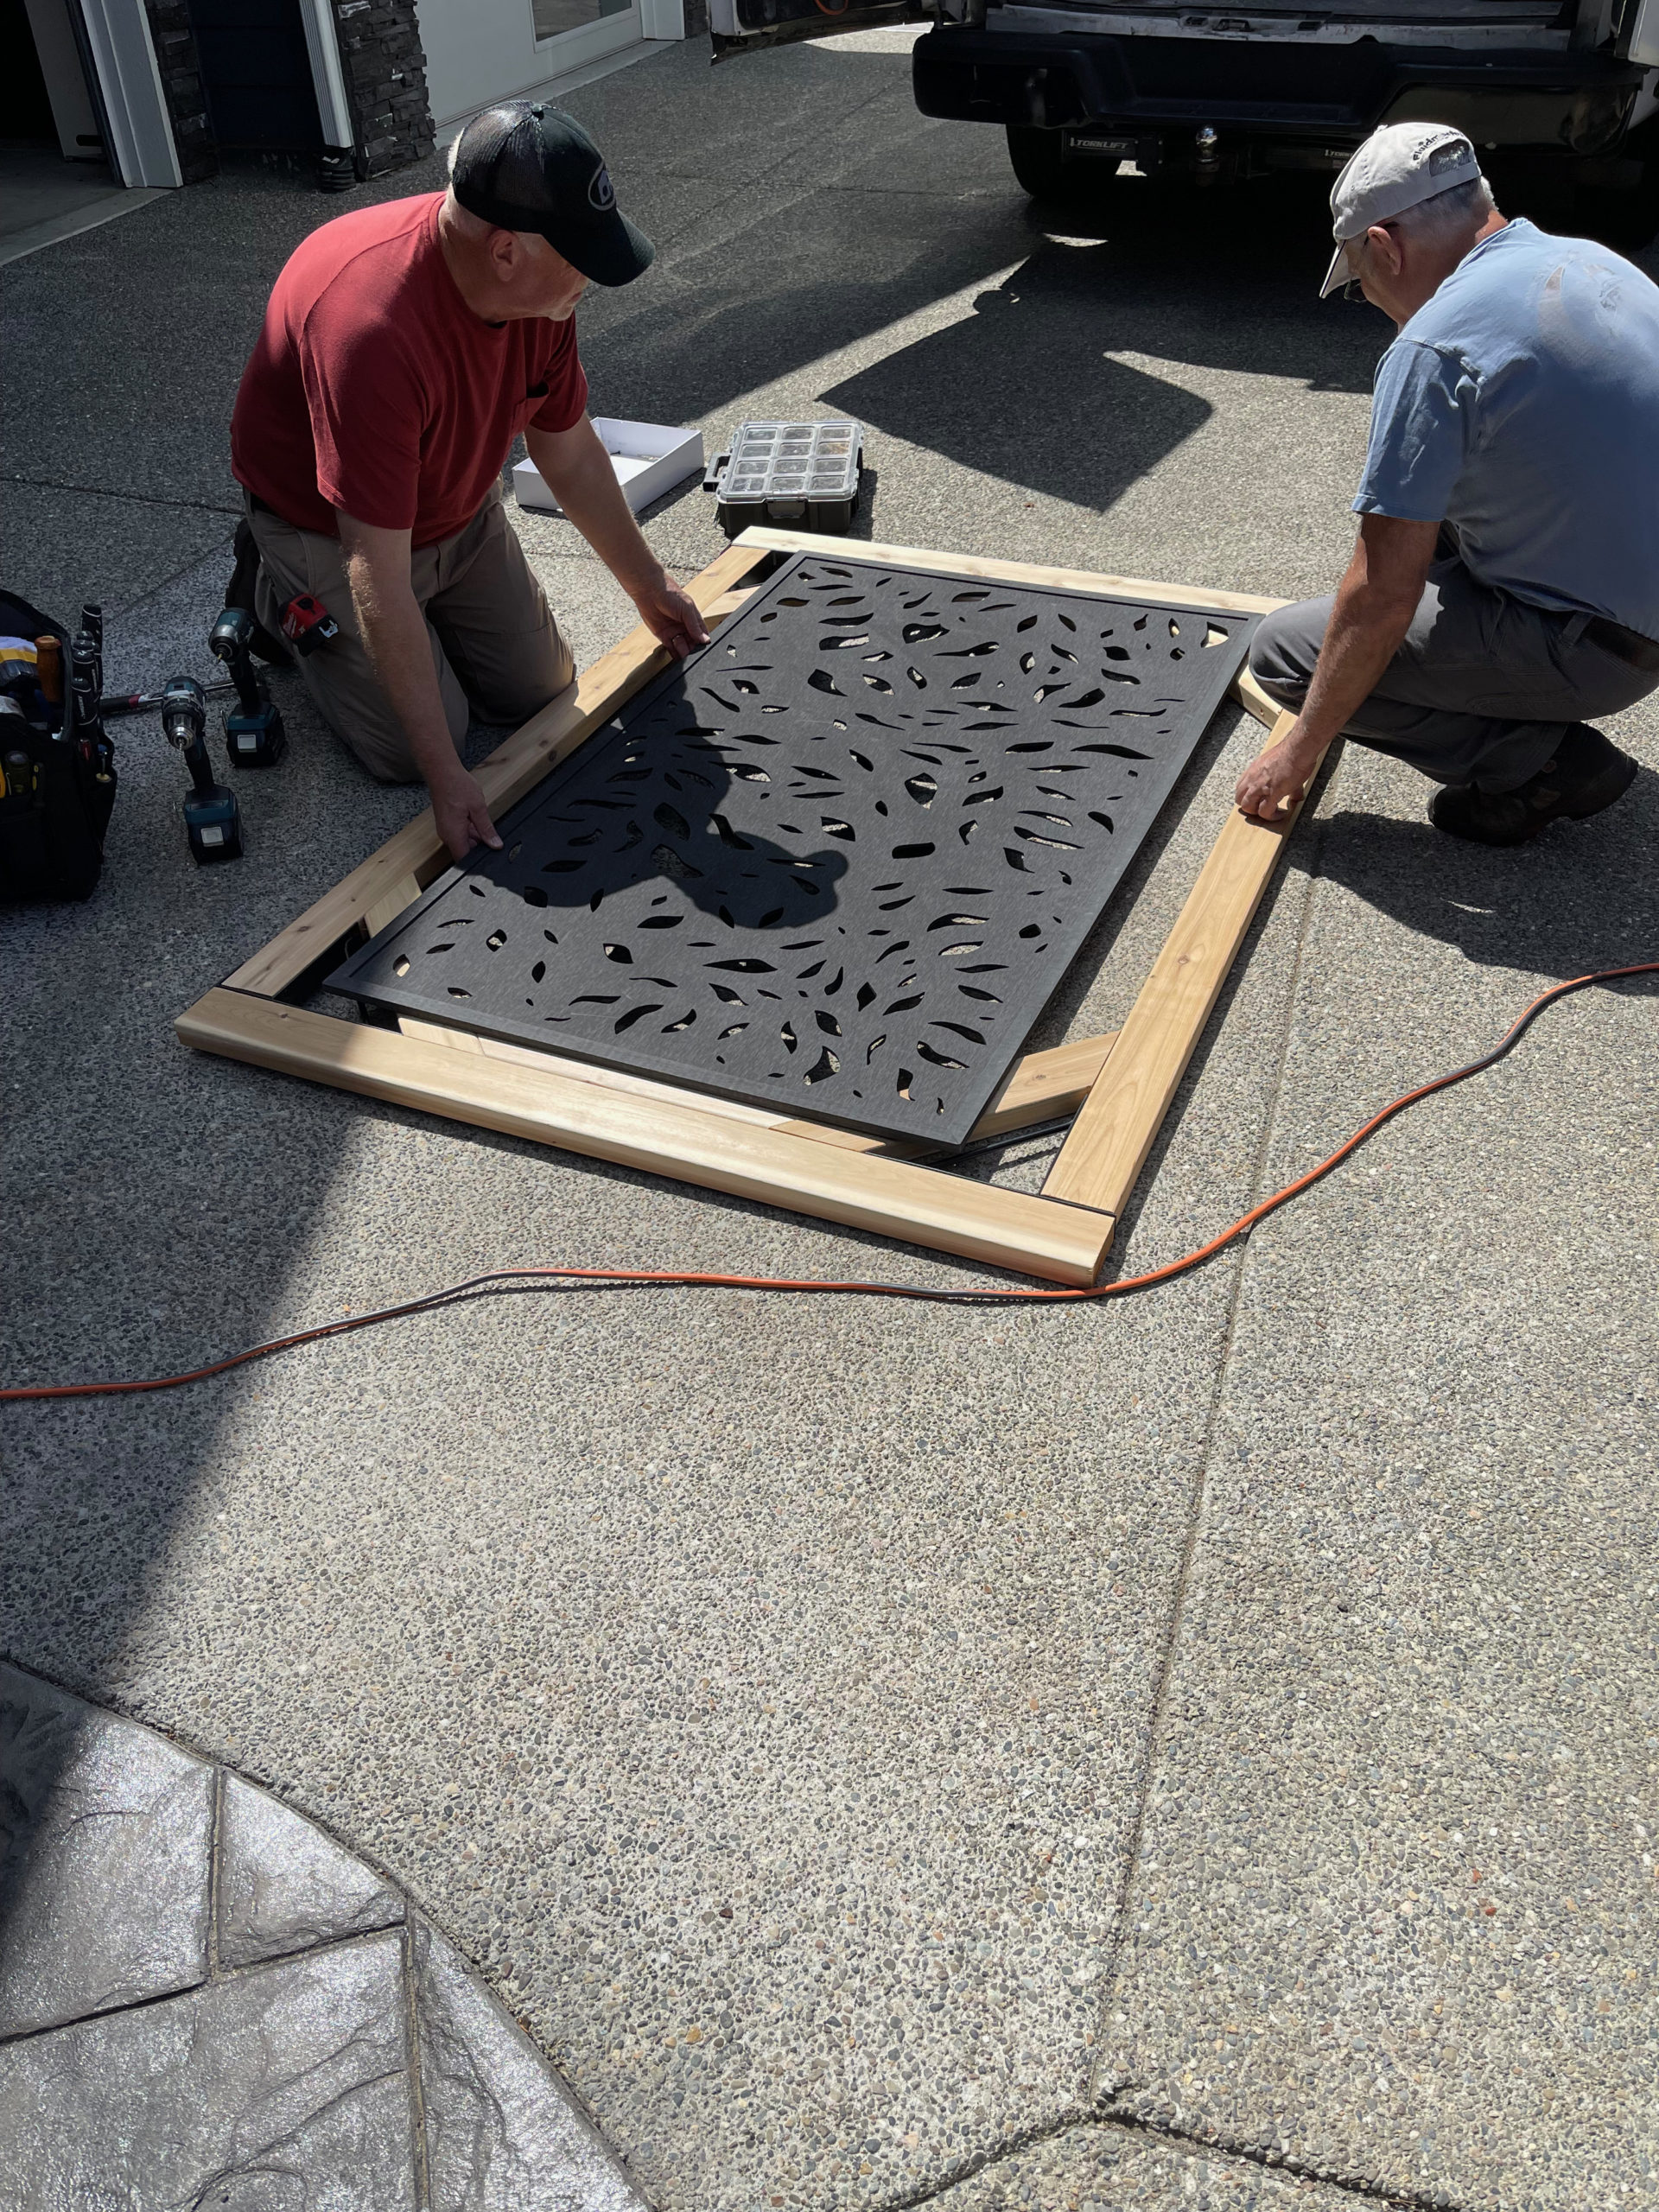
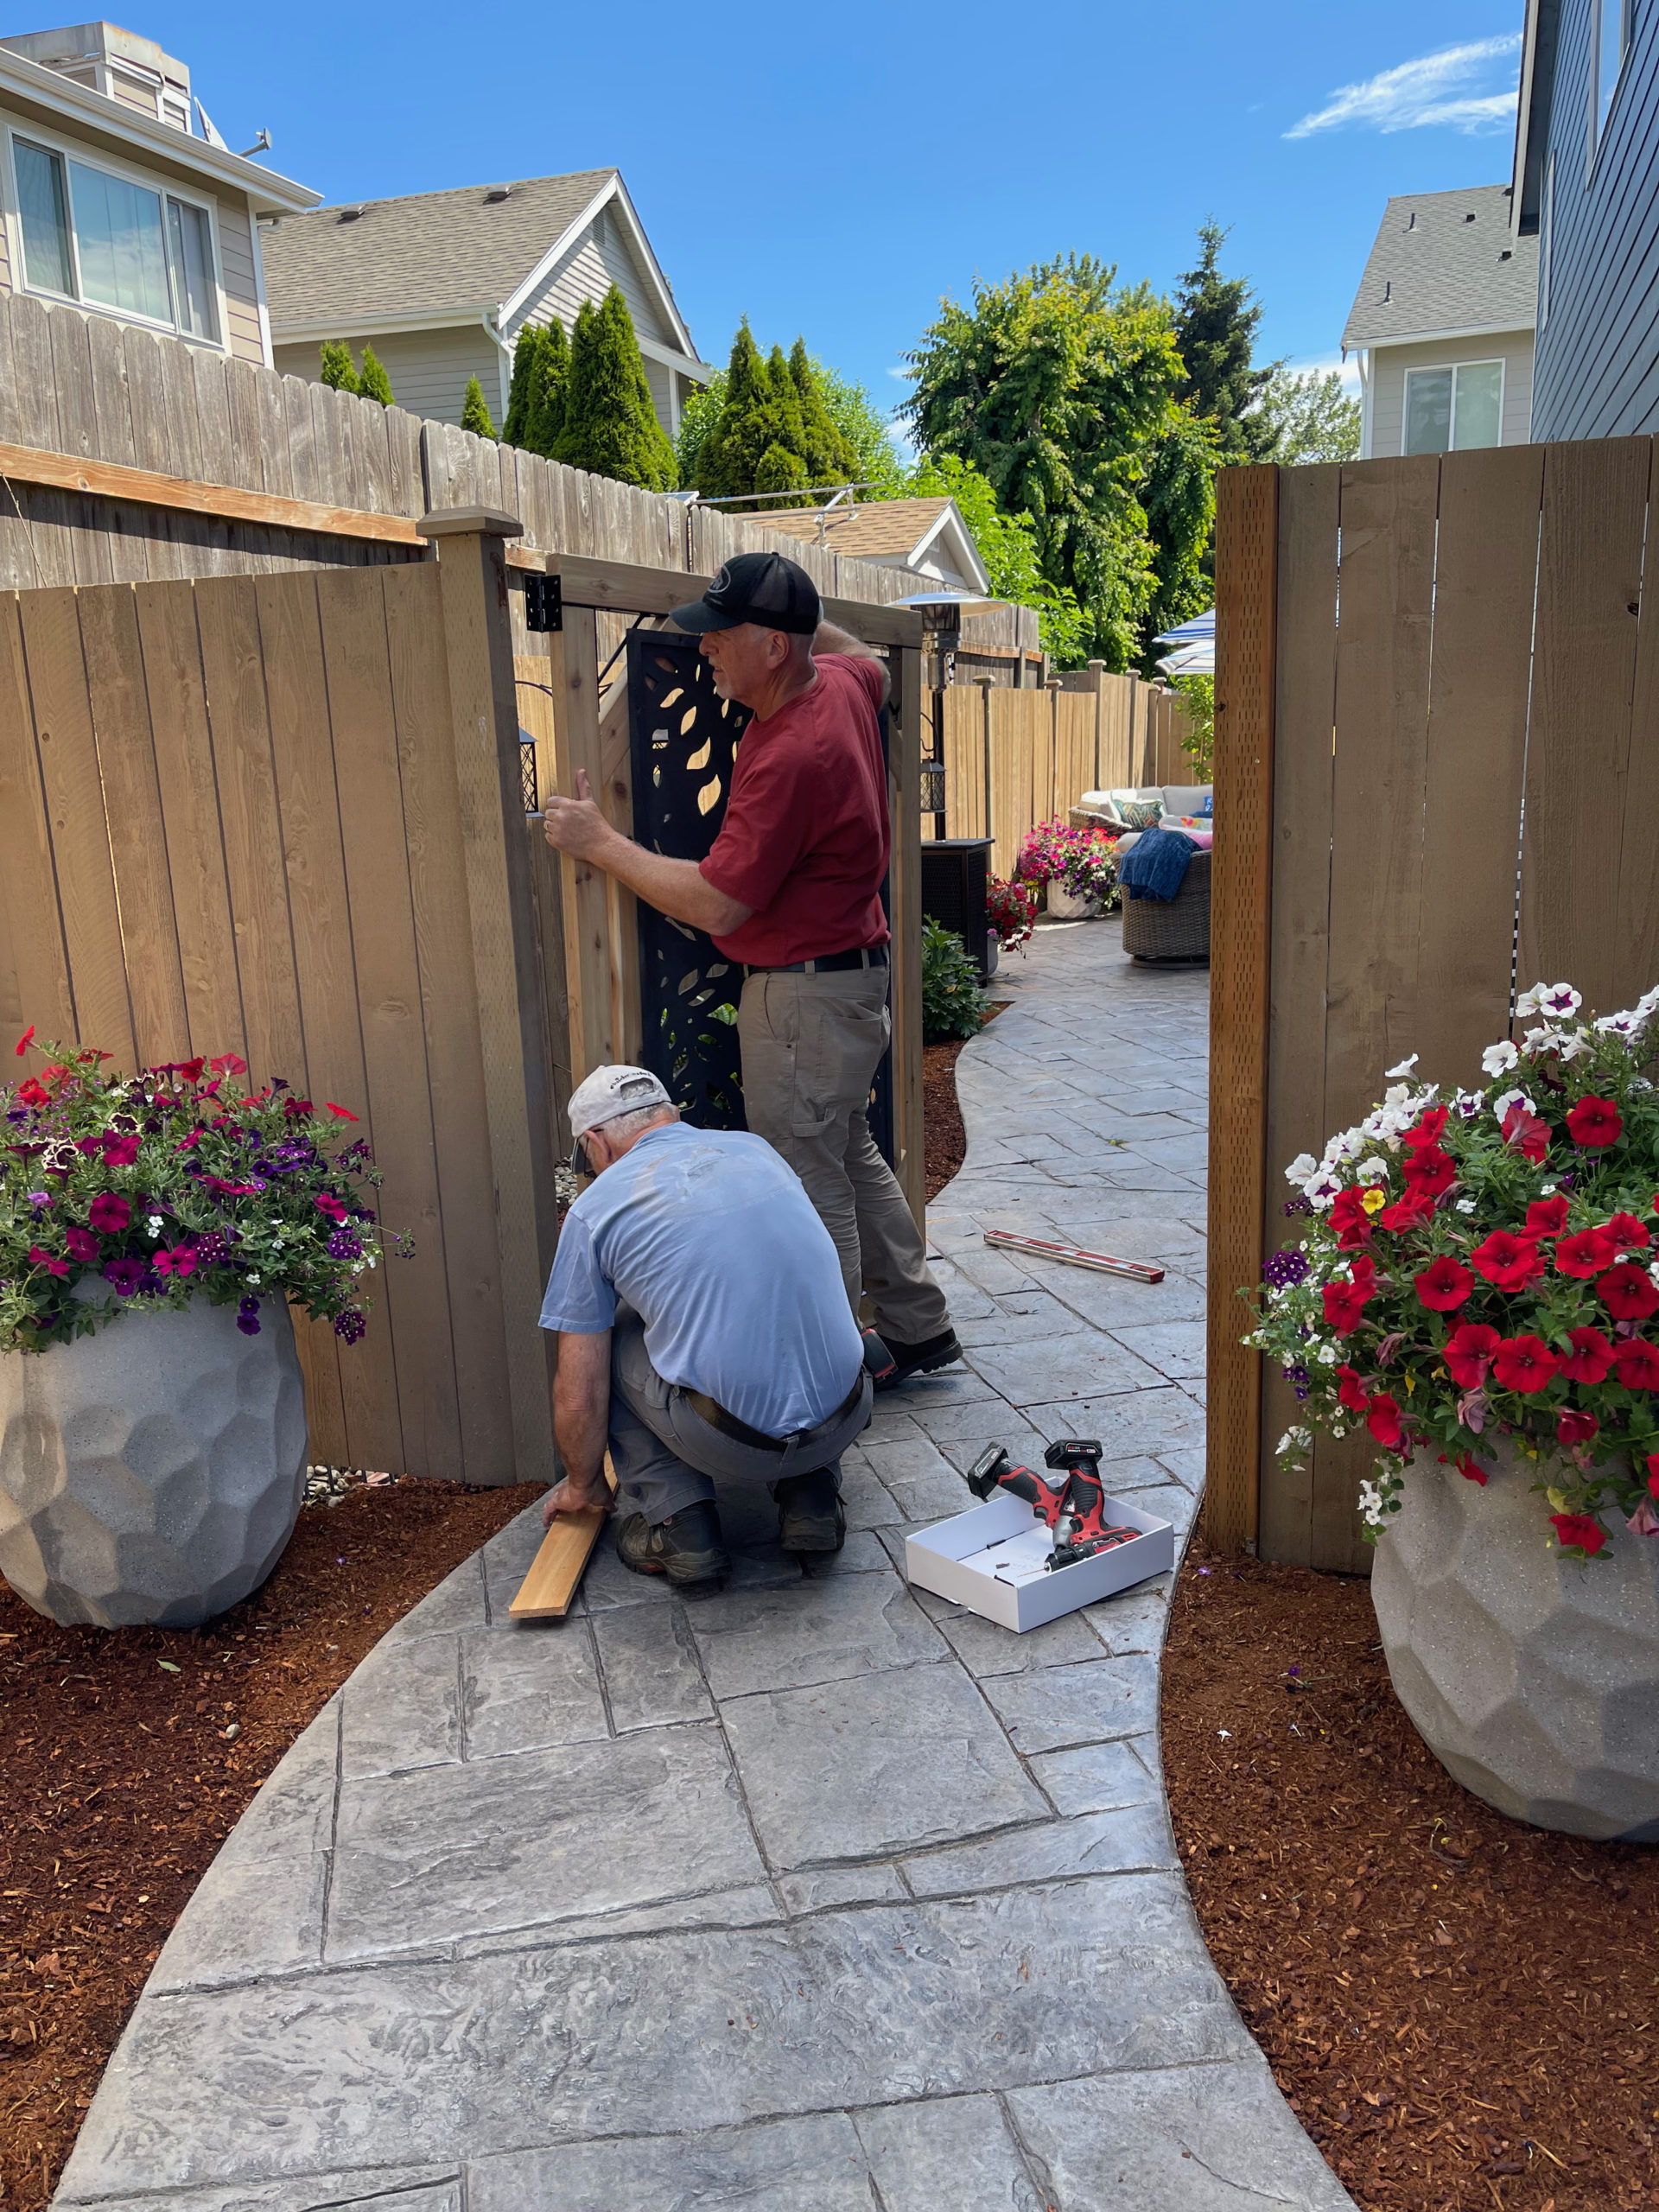
As far as the turf in the original plan, we decided to nix that plan and try to bring our lawn back to life with fertilizer and seed.
To help our lawn come back to life and keep all of our new plants watered, we decided to get a quote for adding to our irrigation system by adding sprinklers and a drip system for the plants and trees.
After getting the quote, we decided to go for it. The bonus was the quote also included bark (for the whole yard), moving the front sprinklers to best water our newly moved around front landscaping, and tree stakes to help the trees grow upright.
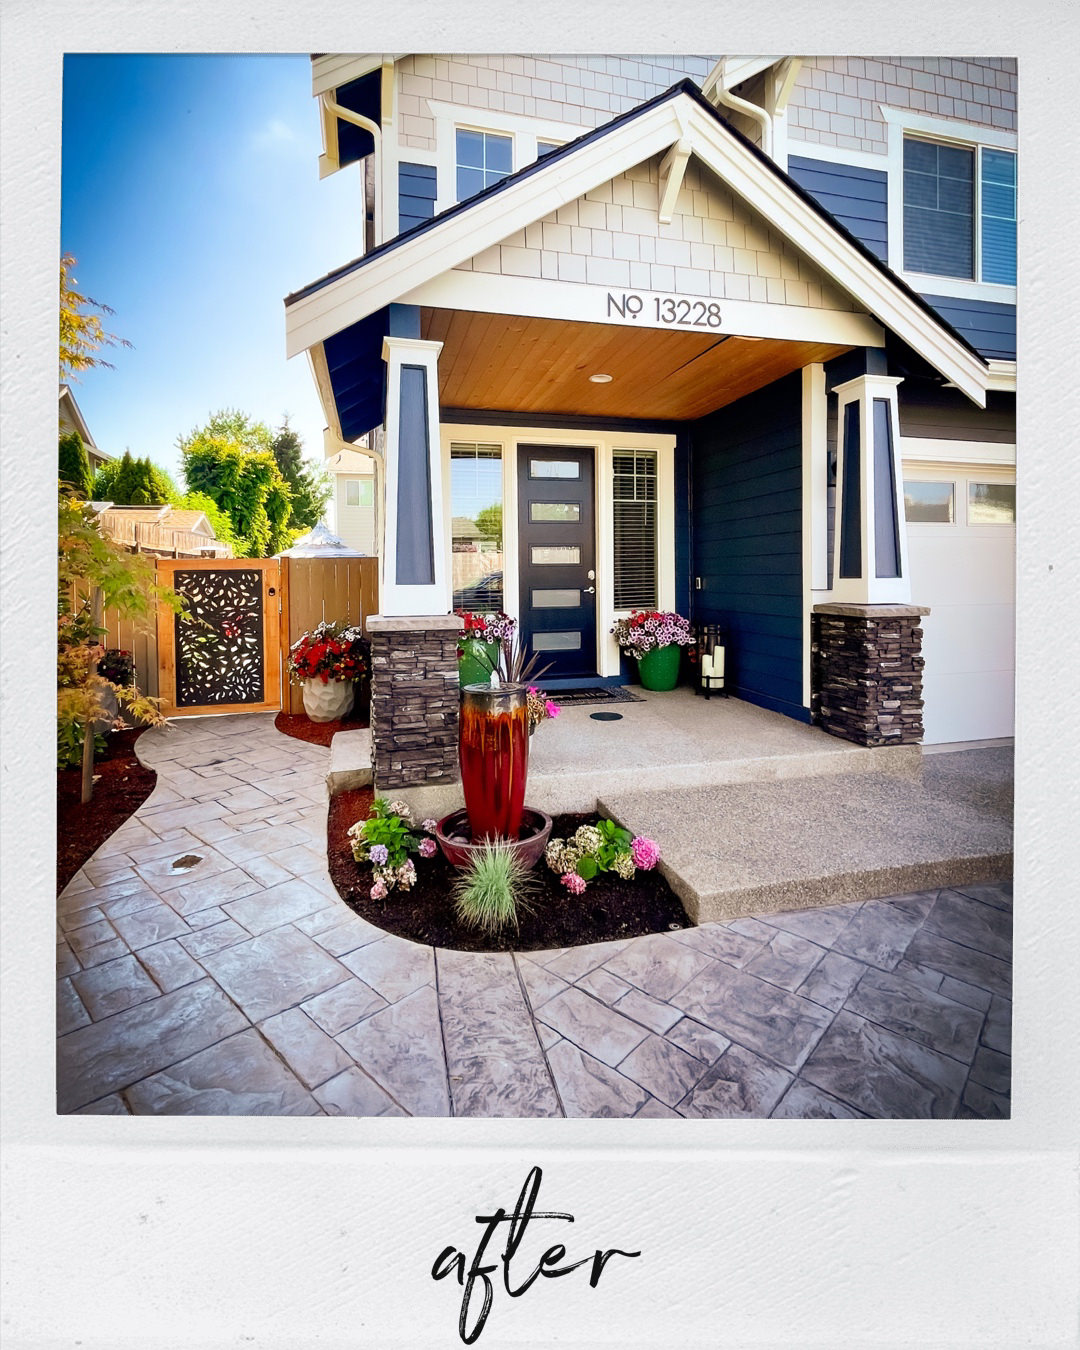
We love how our yard turned out!
Every bit of our yard is usable and fits our set-out key space goals of
- An Area To Entertain
- An Area for our pup, Remi
- The greenery that would give us privacy
- Trees that would add to the privacy and give some shade
How did we do on our budget?
I’m happy to say that our DIY Yard space came in right at the budget we had in mind which was just under the lowest quote. But, we did a lot more with our landscape design within our budgeted amount than what was quoted and we absolutely LOVE how it turned out.
Want some resources and links for what we used? Happy to share…
Furniture:
- Upper Patio Sectional
- Fire Pit Chat Set
- Pagoda Umbrellas
- Circular Sectional (no longer available / from Costco)
- Patio Heater (no longer available / from Wayfair)
- Outdoor Pillows (from At Home & HomeGoods)
- Outdoor Throw Blankets (from HomeGoods)
Gate:
- Gate Panel (similar in brown / charcoal no longer available)
- Iron Gate Latch
Landscape Lighting:
And If you are local…
- Concrete Company – Chase Concrete
- Nursery – Kent Easthill Nursery
- Landscape Planting Plan – Jason B. at Kent East Hill Nursery
- Hanging Flower Baskets inside planters – Carpinito Brothers
- Irrigation – Ground Effects Landscaping (ask for Jeremy)
comments +